
If you’ve ever longed for glossy egg whites wrapped around a molten yolk, choosing the right poacher is half the battle. Whether you’re wielding a stove-top pan, silicone cups or an electric gadget, each brings its own rhythm to poaching perfection.
Top Picks For Best Egg Poacher
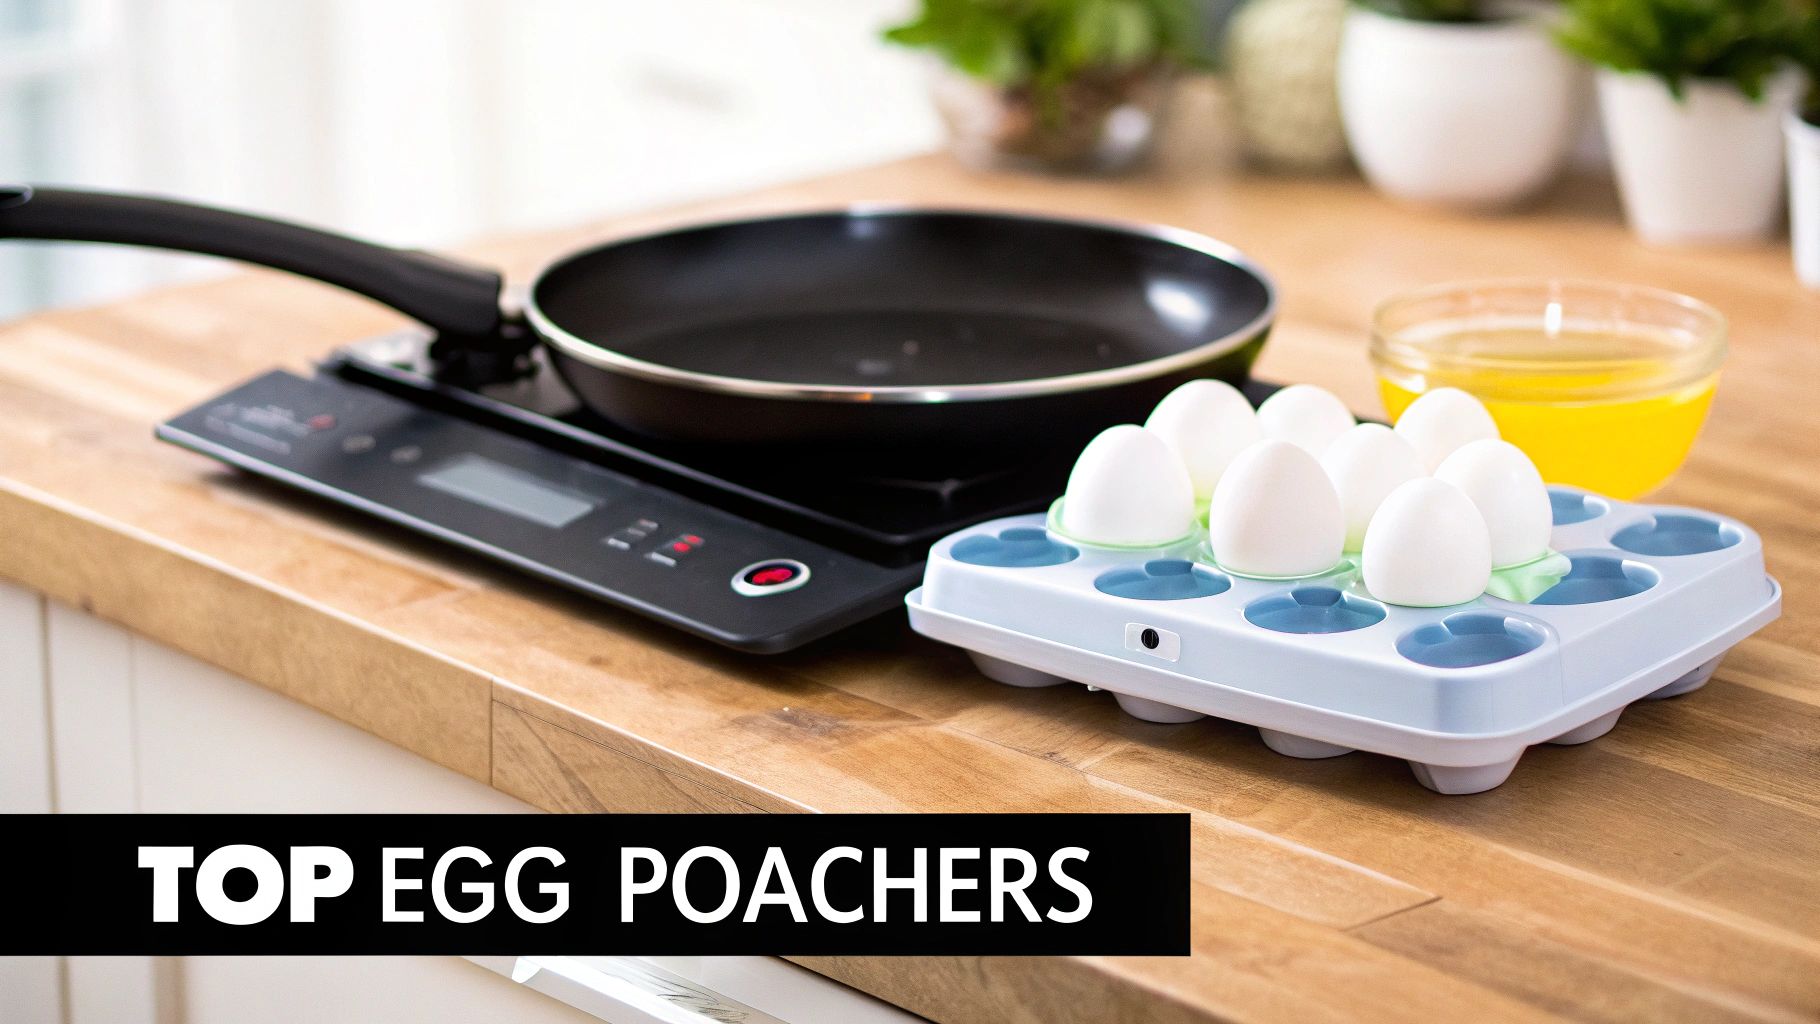
Here are three favourites that never let you down:
- Everti Titanium Poacher Pan – Holds 4 eggs and resists corrosion for life.
- OXO Hourglass Silicone Cups – Collapsible for travel, non-stick, fits 2 eggs.
- BRUNO Electric Egg Poacher – Poaches up to 7 eggs with an auto-shutoff timer.
Top Egg Poacher Options
Below is a quick side-by-side look at these standout models. Use it to weigh capacity, material and cost in an instant.
| Model | Capacity | Material | Price |
|---|---|---|---|
| Everti Titanium Pan | 4 eggs | Titanium | $79 |
| OXO Silicone Cups | 2 eggs | Silicone | $25 |
| BRUNO Electric Unit | 7 eggs | Stainless steel | $99 |
With this snapshot, you can zero in on the ideal poacher without sifting through pages of specs.
Why These Models Stand Out
- Stove-top pans like Everti spread heat evenly and wipe clean in moments.
- Silicone cups fold flat—perfect if bench space is tight or you’re camping.
- Electric units free you from timing worries; breakfast cooks itself.
What To Consider
- Capacity: A 4-cup pan suits a small gathering, while single or double cups work for solo meals.
- Material: Stainless steel endures; titanium won’t rust; silicone packs away neatly.
- Ease Of Cleaning: Look for dishwasher-safe pieces or non-stick surfaces.
- Controls And Timers: Auto-shutoff on electric models prevents overcooking.
Next Steps
- Dive into the sections ahead on materials, cleaning and expert tips.
- Match a poacher to your kitchen style and cooking habits.
- Embrace morning routines that deliver brunch-level eggs every time.
Refer back to this guide whenever you need a quick pick or to refresh your poaching game. Happy poaching!
Why You Need The Best Egg Poacher
Poaching eggs often feels like a juggling act. Too much movement and the whites fall apart; too little and they stick or overcook. Investing in the best egg poacher turns this delicate task into a reliable morning ritual.
With precise steam or water circulation, you’ll avoid splashes and uneven cooking. The result? A silky exterior with perfectly runny yolks every single time.
Health-conscious cooks will appreciate that poachers need almost no oil and lock in precious nutrients. They even reduce the need for vinegar additives, preserving the pure egg flavour.
In Australia, shoppers have shifted towards gentler cooking tools. 57.4% of all egg sales were free-range in 2023-24, driving demand for gear that treats eggs with care. Learn more about these free-range egg industry insights in this overview.
Key Benefits You Gain
-
Consistency and Precision
Poachers guide heat evenly so whites wrap neatly around yolks. -
Healthier Cooking
Only water or steam is required, cutting out extra fats for leaner dishes. -
Simplified Cleanup
Many top-rated trays and pans feature non-stick coatings or dishwasher-safe inserts. -
Time Efficiency
Electric models often include auto-shutoff timers, freeing you to multitask.
Silicone insert sets collapse for storage convenience, while metal pans—like Everti titanium—deliver even heating and corrosion resistance.
“The right egg poacher turns guesswork into a simple ritual,” chef Emma Clarke highlights.
Why This Tool Matters
A dedicated poacher elevates breakfasts from basic to restaurant-style. You can infuse the poaching bath with herbs or spices for subtle layers of flavour.
Beyond the morning rush, its consistency makes it a star at brunch gatherings, meal prep sessions and light lunches. Serve perfect eggs every time—no second-takes needed.
Selecting Your Ideal Design
- Stove-Top Pan – Generous capacity for families and rapid heat equalisation.
- Silicone Cups – Collapsible, space-saving and great for travel.
- Electric Unit – Hands-off cooking with precise timers and alerts.
With this quick guide, you’ll zero in on the model that fits your kitchen and lifestyle.
Quick Start Tips
- Preheat the water to a gentle simmer just below boiling—around 85°C for a precise set.
- Give the water a soft swirl before adding eggs, so the whites nestle neatly around the yolks.
Master these simple steps, and you’ll lift every breakfast table with flawless poached eggs.
Understanding Egg Poacher Types
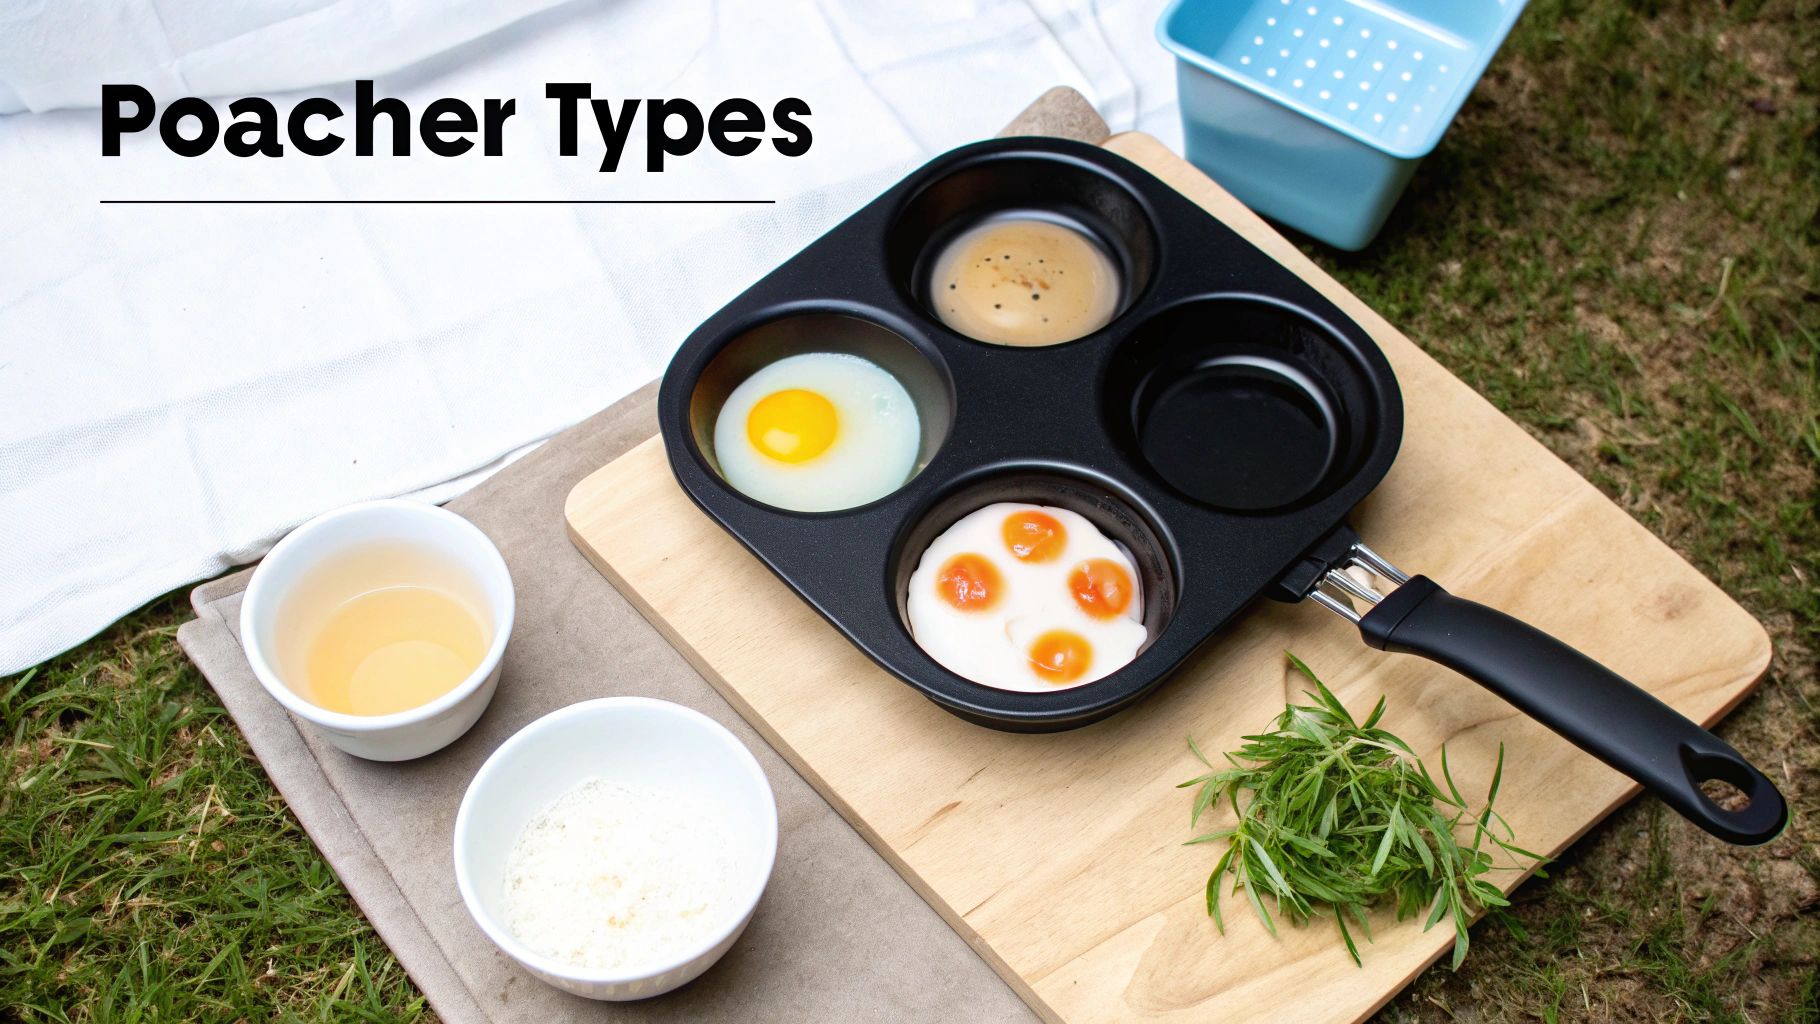
Imagine laying out a row of egg poachers on your bench—each one shaped for a slightly different mission. Some are as sturdy as a cast-iron skillet, built for family feasts. Others tuck away like a pocket knife, ready for a quick solo meal.
Matching the right poacher to your routine is all about understanding these designs. From fold-away silicone cups to fully automatic electric models, there’s a perfect fit hiding among the options.
Poacher Type Overview
- Stove-Top Pan holds 4–6 eggs in metal cups and works flawlessly on gas or induction cooktops.
- Silicone Insert slides into a frying pan, collapses for storage and practically banishes sticking.
- Electric Unit handles water levels and timing for fuss-free results every time.
- Microwave Steamer delivers a single poached egg in under a minute—ideal for mornings when you’re racing the clock.
Global figures reveal the egg-poacher market expanding at a 5% CAGR from 2025 to 2033, driven by our appetite for quick, home-cooked breakfasts. Australian retailers, in fact, note a spike during stay-at-home phases. Learn more about these market trends on ArchiveMarket
Pros And Cons At A Glance
| Type | Pros | Cons |
|---|---|---|
| Stove-Top Pan | Even heating, multiple eggs | Bulky, longer preheat time |
| Silicone Insert | Space-saving, non-stick | Limited capacity, gentler heat |
| Electric Unit | Consistent results, built-in timer | Higher price, needs bench space |
| Microwave Steamer | Ultra-fast, portable | Single egg only, texture may vary |
Think of a stove-top pan like a four-lane highway: steady flow but takes room. By contrast, a silicone cup folds up like a camping chair—compact but with fewer lanes. These simple images help you weigh storage against output.
“Choosing the right poacher is about your routine, not just capacity,” kitchen pro Helen Wu explains.
Matching Tools To Kitchen Habits
If your cookware wardrobe features gleaming copper or smooth non-stick finishes, you might enjoy our detailed guide on non-stick cookware. From there, it’s easy to match the right egg poacher to your daily habits:
- For weekend brunches: a stove-top pan delivers batch poaching without lifting a finger.
- When time is scarce: microwave steamers bring eggs to the table in under a minute.
- At cocktail brunches: electric units let you set and forget multiple batches.
- During solo breakfasts: silicone inserts fold away afterwards, minimising clutter.
These snapshots show how balancing capacity, speed and storage transforms poaching from a chore into pure pleasure.
Selecting Your Ideal Poacher
-
Capacity
Match cups to your typical egg count—one for solo meals, four or more for feeding a crowd. -
Material
Consider cleaning and heat transfer. Metal cups warm up fast; silicone stays stick-free. -
Storage
Fixed pans need rack space; collapsible cups slip into drawers.
With these three checkpoints in hand, you’ll zero in on the poacher that seamlessly slots into your kitchen and your morning rhythm. Ultimately, the best egg poacher is the one you reach for without a second thought.
Egg Poacher Material Comparison
Choosing the right material for your egg poacher shapes everything from heat distribution to cleanup time—and even how long the poacher lasts in your kitchen.
Here’s a side-by-side look at the five most common options you’ll encounter.
Material Comparison For Egg Poachers
| Material | Pros | Cons |
|---|---|---|
| Stainless Steel | Uniform heating, sturdy build | Requires oil, potential sticking |
| Non-Stick Coated | Effortless release, simple wash | Scratches easily, coating may peel |
| Anodised Aluminium | Rapid heat, strong surface | Possible warping, reactive with acids |
| Silicone Cups | Collapsible storage, stain resistant | Slower heat transfer |
| Ceramic Lined | Scratch resistant, natural release | Heavier, slower to warm |
No single material is perfect, but understanding their strengths and weaknesses helps you zero in on your ideal poacher.
How Materials Affect Cooking
Think of stainless steel as a well-kept highway—reliable and even, but it needs a slick of oil to prevent sticking.
Non-stick coatings, by contrast, feel like ice under your feet: gloriously smooth until you nick the surface with something sharp.
Anodised aluminium is the sports car of egg poachers—it heats up in a flash, though it can flex under extreme conditions.
Silicone cups behave more like memory foam: they squish into tight spots, spring back into shape, and shrug off stains—but they take their time to conduct heat.
Ceramic-lined pans offer a smooth ride and forgiving surface, yet they’re a bit heavier and slower to warm through.
Key Insight
The material you choose determines not only how evenly heat hits your eggs, but also the kind of care and attention your poacher will demand.
Choosing Based On Maintenance
Here’s a quick rundown to help with your decision:
- Stainless Steel: Season or mist with oil before cooking to avoid sticking.
- Non-Stick Coated: Clean with soft sponges and steer clear of metal tools.
- Anodised Aluminium: Handwash promptly with mild detergent—no soaking.
- Silicone Cups: Safe in the dishwasher; collapse fully and air-dry to stop mould.
- Ceramic Lined: Let cool completely before gently wiping clean.
Make your pick based on how often you cook and how much elbow grease you’re willing to invest. For another durable, low-maintenance alternative, dive into our guide on titanium cookware in Australia.
Practical Examples Of Material Use
Planning a weekend brunch for the family? A stainless steel pan easily accommodates multiple eggs and stands up to high-volume cooking.
Heading off on a camping trip? Collapsible silicone cups tuck neatly into your backpack without adding bulk.
Pressed for time on weekday mornings? Anodised aluminium poachers heat up in seconds, giving you breakfast in a flash.
Hosting a casual dinner party? Ceramic-lined trays ensure eggs glide off cleanly—so you spend less time scrubbing and more time entertaining.
By pairing your cooking style, storage constraints and cleanup habits with the right material, you’ll land on an egg poacher that feels like an extension of your own kitchen routine.
How To Choose The Right Egg Poacher
Finding the perfect egg poacher starts with matching its features to your kitchen habits. A model’s price tag is only part of the picture.
Capacity dictates whether morning meals feed one or a crowd. Multi-cup designs let you poach 4 eggs at once—ideal for family brunches. Smaller pods manage two eggs and fold flat to save drawer space.
- Capacity aligns with your usual egg count.
- Lid traps steam for consistent results.
- Surface material determines stick-resistance and ease of cleaning.
- Timer options range from manual signals to automatic shutoffs.
Safety and storage also play a role. A well-fitted lid prevents steam leaks and scalds. If shelf space is tight, collapsible silicone cups slide neatly into narrow drawers.
Assess Capacity And Compatibility
List how many eggs you crack each morning before you shop. Choose a multi-cup pan for batch cooking, or compact pods if you prefer minimal clean-up.
Next, consider your stovetop. Stainless steel works well on induction hobs, while non-stick bases often suit gas burners best.
“Selecting the right size streamlines prep and avoids waste,” cooking pro Sara Nguyen notes.
Electric egg poachers can handle water levels and timing automatically, ensuring consistency at the expense of counter space. This infographic visualises how materials like Steel, non-stick and Silicone influence durability and clean-up.
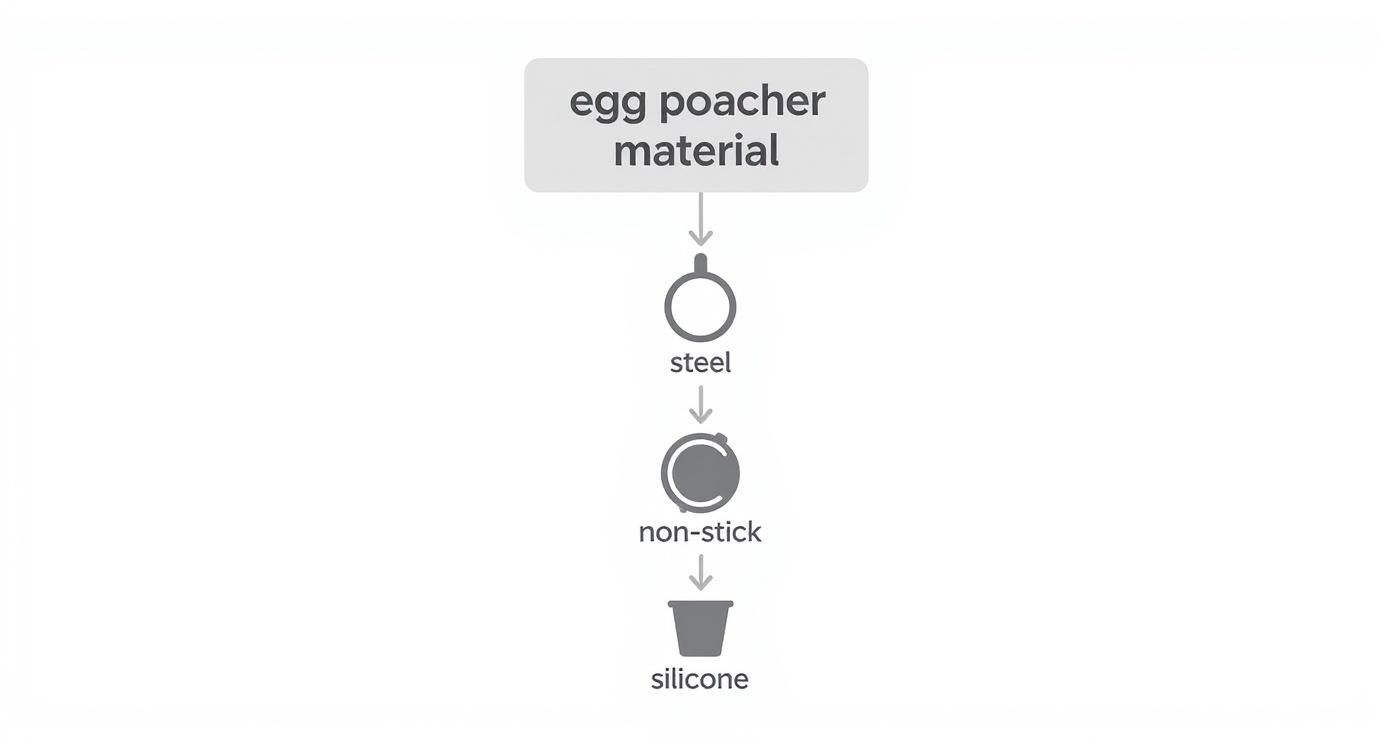
Key insights show Steel offers long-lasting strength, non-stick speeds up release, and Silicone packs down for easy storage.
Evaluate Features And Controls
Once you’ve narrowed down your material, look for finishing touches. Non-stick coatings make scrubbing a breeze but can scratch over time. On the other hand, Everti titanium pans resist corrosion and never require seasoning.
- Make a checklist of must-have features.
- Compare models by capacity, material and price.
- Read user reviews to assess lid seals and heat control.
Decide whether you prefer an audible alert or manual timing. Finally, check warranties on coated surfaces to guard against peeling.
As egg consumption grows across Australia, the eggs market revenue is projected to hit US$65.85 million in 2025. Learn more about egg market growth on Statista.
Consider Storage And Cleanup
Think about where your poacher will live when it’s not in use. Rigid trays need shelf space, while silicone cups collapse flat in drawers.
- Silicone cups collapse for tight storage, resisting mould.
- Steel pans stack neatly but require bench or shelf room.
- Electric units claim counter real estate but free up cupboard space.
Ease of cleaning often dictates how often you’ll actually use the tool. A smooth non-stick pan that wipes down quickly will see more breakfasts than one that demands a soaking.
Your ideal poacher balances capacity, material and clean-up into one seamless kitchen companion.
Usage Tips For Perfect Poached Eggs
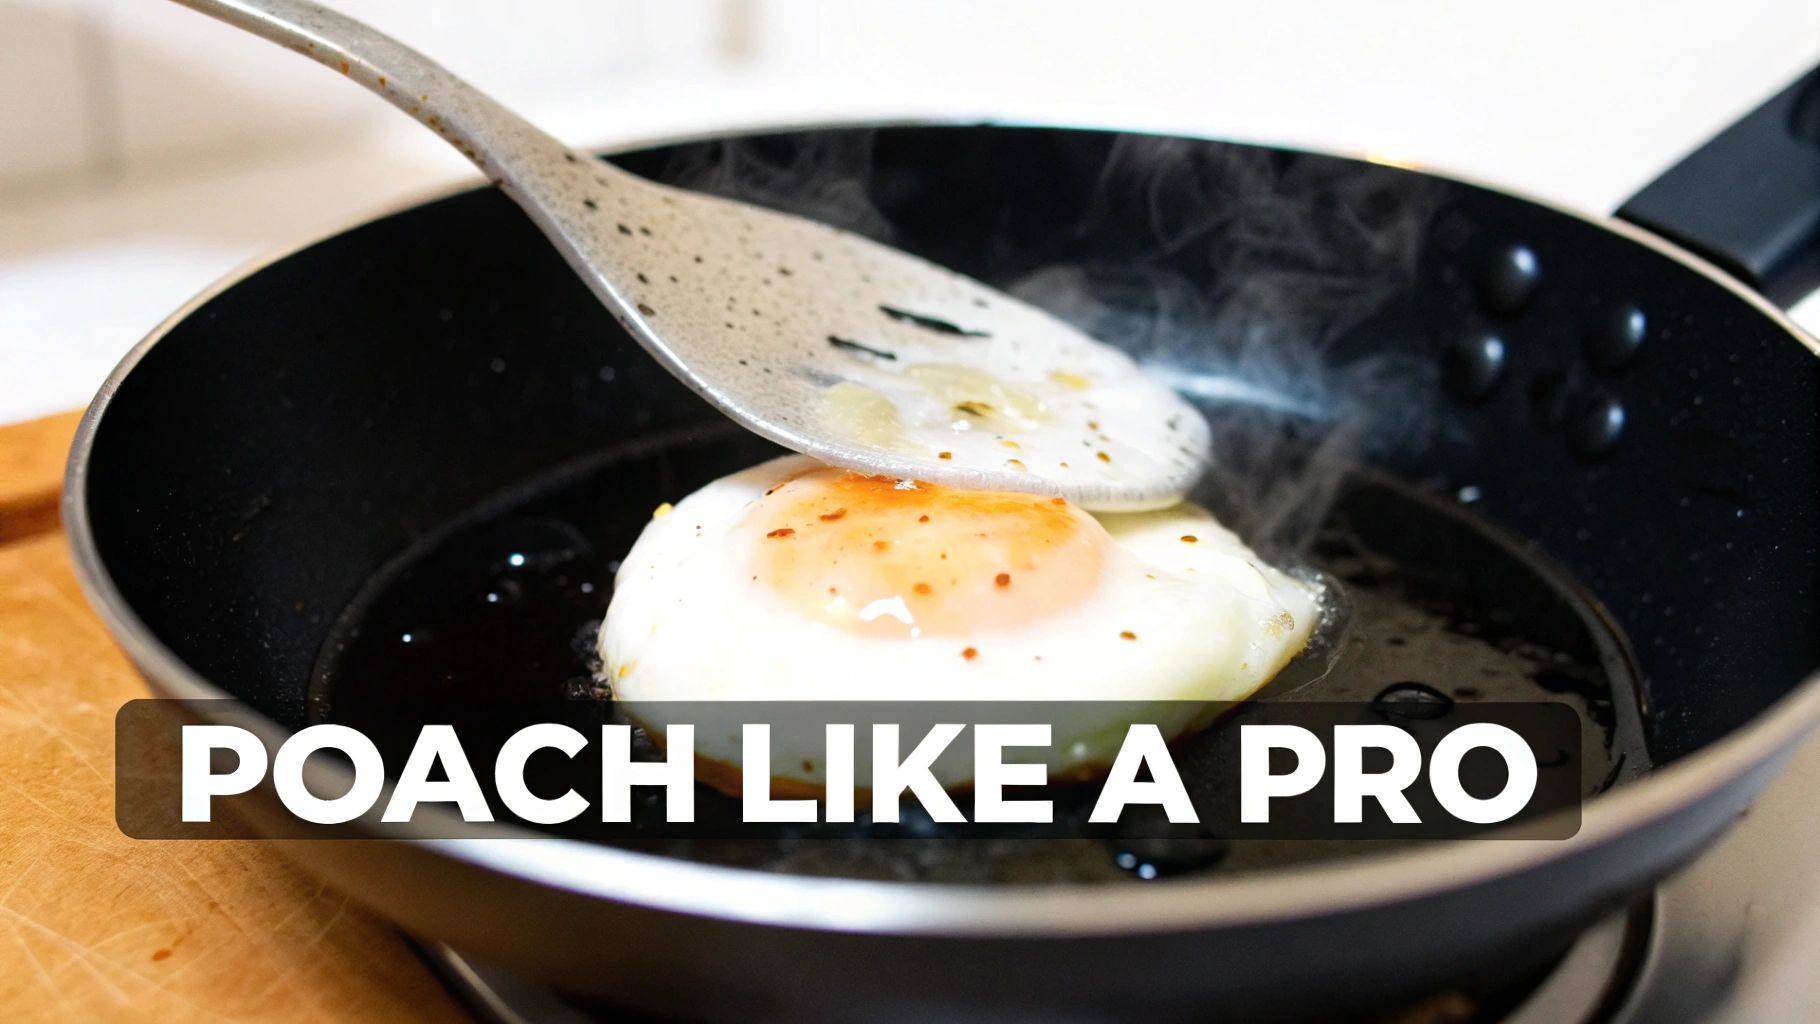
Selecting a sturdy poacher is only half the battle. Fine-tuning your technique turns simple eggs into a silky indulgence.
Aim for a gentle simmer and just a hint of vinegar to coax the whites into shape.
- Keep water at a soft simmer
- Stir in 1 tsp of white vinegar per litre
- Submerge cups by about 1 cm of water
These small steps set the stage for whites that hug a perfectly runny yolk.
Preparing The Water Bath
Heat your pan until you see tiny bubbles forming on the base. A rolling boil is too rough—stick to a soft simmer.
Next, swirl the water in a clockwise circle. This little whirlpool helps the egg white wrap neatly around the yolk, much like chefs do in busy kitchens.
“A soft whirlpool guides the egg into a neat bundle,” chef Tom Reid explains
Once you’ve got the swirl, dial the heat back and position your poacher cups evenly.
Cracking And Timing Eggs
Crack each egg into a small cup first. This catches any stray shell pieces and lets you place the egg exactly where it should go.
Gently slide the cup beneath the surface, tip it, and let the egg slip out. Then choose your timing:
- 3 minutes for very runny yolks
- 4 minutes for a jammy centre
- 5 minutes for firmer whites with slightly set yolks
This range covers every taste. For electric models, rely on the built-in timer and follow the manufacturer’s instructions.
When your timer dings, lift the eggs out with a slotted spoon and let excess water drip off.
Key Insight
Consistency comes from timing and gentle handling—rushing this step costs you that silky texture.
Plating And Cleaning
Serve immediately on a warmed plate or a slice of sourdough to keep things piping hot.
A scattering of fresh chives or a pinch of smoked paprika brings extra colour and flavour.
- Choose fresh eggs; older whites spread more in water
- Keep the simmer low to protect the yolk
- Space cups at least 2 cm apart to avoid sticking
Preheating your serving plate in a warm oven for two minutes makes a noticeable difference.
To keep your poacher gleaming, hand-wash the cups right away or use a soft sponge on non-stick trays.
Check out our guide on non-stick frying pans with lids.
To keep your egg poacher in top condition and ensure safe food preparation, explore options for a reliable non-toxic kitchen cleaner.
Pair your poached eggs with lightly buttered sourdough or a crisp salad for a simple, wholesome breakfast. Enjoy gourmet mornings made effortlessly.
Frequently Asked Questions
Quick, straightforward answers make it easier to zero in on the best egg poacher without guesswork.
Below we tackle the top questions on cleaning, capacity, electric models and free-range eggs.
Cleaning And Maintenance
What’s the simplest method to clean an egg poacher pan?
Start with warm water and a splash of mild dish soap, then gently wipe with a soft sponge. If any residue sticks, let the cups or trays soak in hot, soapy water for a few minutes before scrubbing again.
- Always opt for a non-abrasive sponge to protect the non-stick coating.
- Rinse thoroughly and allow everything to air-dry completely.
Capacity Limits
How many eggs can I poach at once?
A typical stove-top pan usually fits 4 to 6 eggs. Silicone insert sets generally accommodate 4 cups, while electric models range from 2 to 7 eggs.
- Multi-cup pans work brilliantly for family breakfasts.
- Single pods are ideal when you’re cooking just for yourself.
Key Insight
Matching capacity to your routine helps you avoid waste.
Electric Poachers Value
Is an electric egg poacher worth the investment?
If you poach eggs several times each week, an electric unit pays off quickly. It maintains consistent steam levels and precise timing, so you can step away without babysitting your eggs.
Egg Type Compatibility
Can I use free-range eggs in any poacher style?
Absolutely. Free-range eggs behave the same whether you’re using a stove-top or electric poacher. Just adjust the cook time by 15 to 30 seconds if your eggs are larger or smaller than average.
Water Temperature Advice
What’s the best water temperature for poaching?
Aim for a gentle simmer—look for tiny bubbles rising slowly, not a rolling boil. That steady heat helps the egg whites wrap snugly around the yolks.
Tweak your heat source until you find that sweet spot.
Explore our blog for more poaching pointers, tasty recipes and upkeep tips to master perfect eggs every time.
Ready to elevate your breakfast? Get the best egg poacher from Everti at https://everti.com.au