

Growing vegetables in pots is your ticket to having fresh, homegrown produce, even if you’re working with a tiny balcony or a sunny windowsill. With the right container, a good soil mix, and the perfect plant, you can create a surprisingly productive garden just about anywhere.
Your First Potted Vegetable Garden Starts Here
Picture this: you step outside onto your balcony to snip a few herbs for dinner or pluck a sun-warmed tomato for your salad. This isn't some far-off dream; it's completely achievable with container gardening. We’re going to move past the generic advice and get into the specific strategies that seasoned gardeners rely on every single day.
You really don't need a sprawling backyard to enjoy the unbeatable flavour of food you've grown yourself. And you're not alone in wanting that. Homegrown produce is booming across the country, with recent research showing that 43% of Australian women and 36% of Australian men are already growing some of their own fruit and veg. It’s clear there’s a massive appetite for fresh, nutritious food, and container gardening is one of the easiest ways to get started. You can dig into the specifics in the latest research on home gardening trends.
This guide is your fresh start—a way to build a thriving, edible garden without feeling overwhelmed. Forget any past attempts that didn't quite work out.
We'll cover the essentials that truly matter: choosing smart pots that help your plants breathe, mixing the perfect soil that provides all the right nutrients, and picking vegetable varieties that are actually happy to live in a container. Of course, we’ll also nail down the basics of watering and sunlight to keep everything flourishing.
It all boils down to one simple idea: a pot is your plant's entire world. When you realise you're creating a self-contained, perfect little ecosystem, getting the foundations right becomes the most critical—and rewarding—step.
Easiest Vegetables To Grow In Containers
To get you started on the right foot, I've put together a quick-reference table with some of the best vegetables for beginners. Choosing one of these is a fantastic way to build your confidence and pretty much guarantee a successful first harvest. These guys are forgiving and give you great results without a lot of fuss.
| Vegetable | Minimum Pot Size (Litres) | Sunlight Needs | Harvest Time |
|---|---|---|---|
| Lettuce (Loose-leaf) | 10-15 L | 4-5 hours/day | 30-45 days |
| Bush Beans | 15-20 L | 6+ hours/day | 50-60 days |
| Radishes | 8-10 L | 4-6 hours/day | 25-30 days |
| Cherry Tomatoes | 20-25 L | 6-8 hours/day | 60-70 days |
| Spinach | 10-15 L | 3-5 hours/day | 40-50 days |
Armed with these fundamentals, you’re ready to get your hands dirty. Let’s dive deeper into each of these areas, with practical tips to guide you every step of the way.
Laying The Groundwork: Pots And Soil
The real magic of a thriving potted vegetable garden isn't just about what you plant; it's about the little world you build for it from the ground up. Your pot and soil aren't just accessories—they are the entire ecosystem for your plant's roots. Getting this foundation right is the single most important thing you can do.
Think of it as building a house. A wobbly foundation means trouble down the line, and for your plants, that foundation begins with the pot itself.
Choosing The Right Container
The pot you choose has a huge impact on how often you'll need to water, your plant's root health, and even the temperature of the soil. That cheap plastic pot from the hardware store might seem like a bargain, but on a scorching summer afternoon, it can cook the roots and hold too much water, leading to rot.
Take the classic terracotta pot, for instance. It's porous and breathes beautifully, which is fantastic for aeration and preventing soggy roots. The trade-off? The soil dries out much faster, so you’ll need to be on top of your watering, especially during a classic Australian heatwave.
Here’s a look at some common options and where they really shine:
- Fabric Grow Bags: Honestly, these are my personal favourites, especially for root veggies like carrots and potatoes. They offer amazing aeration, which encourages healthy roots to "air-prune" instead of becoming a tangled mess. It’s almost impossible to overwater them.
- Self-Watering Planters: A lifesaver for anyone with a busy schedule or for thirsty plants like tomatoes. They have a built-in reservoir that wicks water up to the roots as the plant needs it. This keeps the moisture level consistent and cuts down your daily watering chores.
- Glazed Ceramic: These strike a nice balance between the breathability of terracotta and the water retention of plastic. They come in endless styles and beautiful colours, but just be aware they can be heavy and a bit pricier.
This simple diagram shows how it all comes together: start with a good pot, fill it with quality soil, and then you’re all set for the main event—the plant.
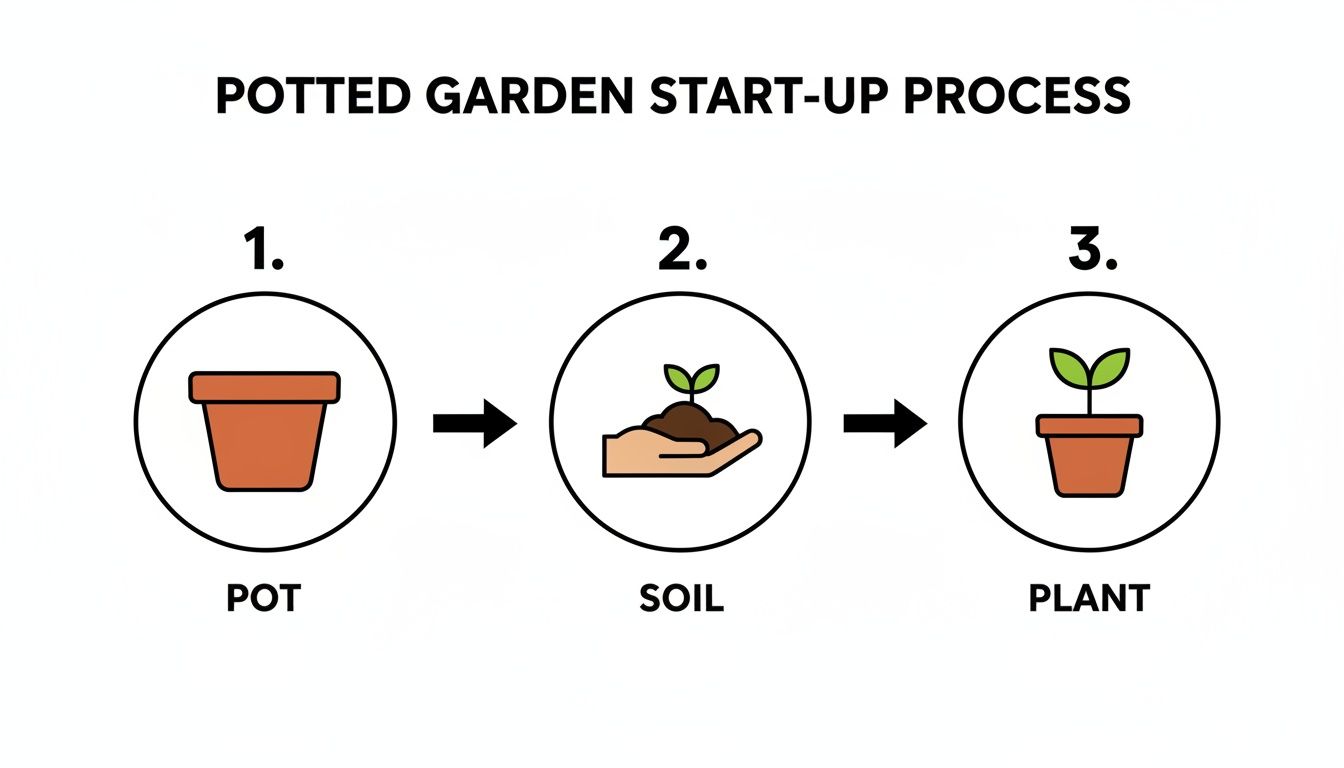
You can see how each element builds upon the last, creating the perfect home before a seed or seedling even gets close.
Mixing The Perfect Soil
Once you've got your container sorted, it's time to talk soil. Whatever you do, don't just scoop soil from your garden bed. Don't even think about it. It’s far too dense and heavy for a pot and will quickly compact, suffocating the roots by cutting off air and water.
Your plants absolutely need a dedicated potting mix. A good quality mix is designed to be light and fluffy, holding onto moisture while still letting any excess drain away freely. This structure is what allows roots to thrive in a confined space.
The right container and the right soil are the cornerstones of a successful potted garden. While you can certainly buy pre-made potting mix from the garden centre, I’ve always found it better (and cheaper) to mix my own. It gives you complete control over what your plants are growing in.
Here’s my go-to recipe for a rich, well-draining mix that my veggies love. I just combine equal parts of the following:
- Peat moss or coco coir: This makes up the bulk of the mix and is brilliant for holding moisture. I lean towards coco coir these days as it's a wonderfully sustainable option made from coconut husks.
- Compost or worm castings: This is the food. It provides a slow, steady release of organic nutrients that will feed your plants over time.
- Perlite or vermiculite: These lightweight volcanic materials are key for aeration. They create little air pockets throughout the soil, which guarantees great drainage and stops everything from becoming a dense brick.
Just tip the three ingredients into a large tub or wheelbarrow and mix them together thoroughly. In a few minutes, you’ll have a premium potting mix that gives your vegetables the best possible start in life.
Choosing Vegetables That Thrive In Containers
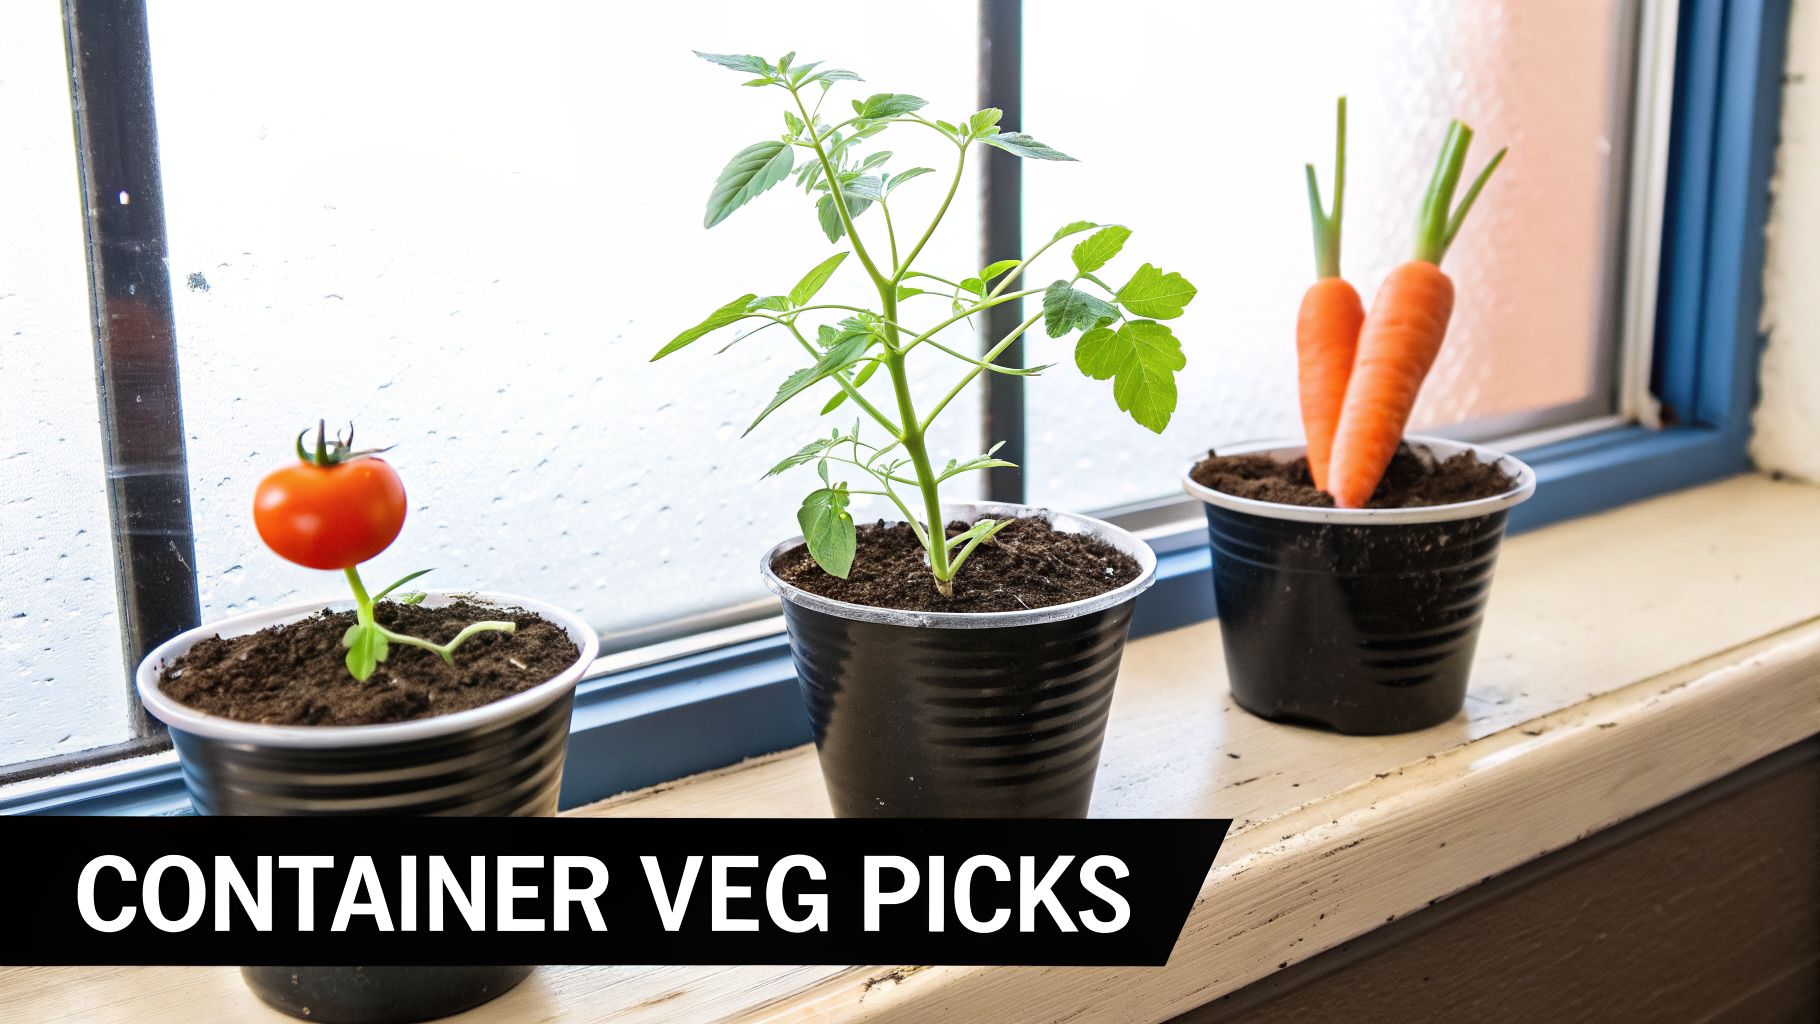
Let's be honest, not every vegetable is cut out for life in a pot. The secret to a successful container garden is being a bit picky and choosing plants that will genuinely thrive, not just survive. While you could technically try to grow anything in a massive enough container, you'll get a much bigger and better harvest by selecting varieties bred for the job.
It’s all about strategic selection. For example, instead of a sprawling eggplant that wants to take over your whole balcony, look for a variety like ‘Patio Baby’. It produces beautiful, miniature fruits on a tidy, compact plant – an absolute game-changer for small spaces.
Pick Plants Bred For Pots
Seed companies have really stepped up, now offering "dwarf" or "patio" versions of all our favourite veggies. These aren't just smaller versions of the originals; they're often bred to be more productive in confined root systems. When you're browsing seeds or seedlings, keep an eye out for keywords like ‘bush’, ‘dwarf’, ‘compact’, or ‘patio’.
Tomatoes are the perfect example of this. They fall into two distinct camps:
- Determinate (Bush) Tomatoes: These are the champions of container gardening. They grow to a fixed, manageable size, produce their fruit in a concentrated burst over a few weeks, and then they're done. Varieties like 'Roma' or 'Tiny Tim' are ideal because they won't try to conquer your entire patio.
- Indeterminate (Vining) Tomatoes: These are the wild ones. The vines just keep growing—sometimes reaching several metres in length! While they produce fruit all season, they demand serious staking and a very large pot, making them a real headache for most container gardeners.
This same principle applies across the board. Opt for bush beans like ‘Masai’ that don't need a huge trellis, or try a round carrot variety like ‘Paris Market’ that’s perfectly happy in a shallower pot. For more great ideas to get you started, check out this article on the 8 Best Vegetables That Grow Well in Pots.
Embrace Companion Planting
Growing in pots gives you the perfect chance to create powerful plant partnerships in a single container. This technique, called companion planting, is all about pairing plants that help each other out. Think of it as giving your veggies a helpful neighbour who keeps pests away.
One of the most classic duos is tomatoes and basil. Planting basil in the same pot doesn't just save space; many gardeners swear it actually improves the flavour of the tomatoes. Better yet, its strong scent helps deter common pests like tomato hornworms and whiteflies.
This isn't just garden folklore; it’s a brilliant, organic way to manage pests and even boost plant health.
Here are a few other effective pairings to try in your pots:
- Lettuce and Chives: The oniony scent of chives can help repel aphids that love to munch on tender lettuce leaves.
- Carrots and Rosemary: Rosemary’s powerful aroma is fantastic for confusing the carrot rust fly, protecting your precious crop.
- Cucumbers and Nasturtiums: Nasturtiums act as a "trap crop," luring aphids away from your cucumbers. Plus, the flowers and leaves are edible and add a peppery kick to salads!
By focusing on compact varieties and creating smart plant partnerships, you'll dramatically improve the health and yield of your container garden. It’s all about working smarter, not harder, to pull off an impressive harvest from even the smallest of spaces.
Mastering the Art of Watering and Sunlight
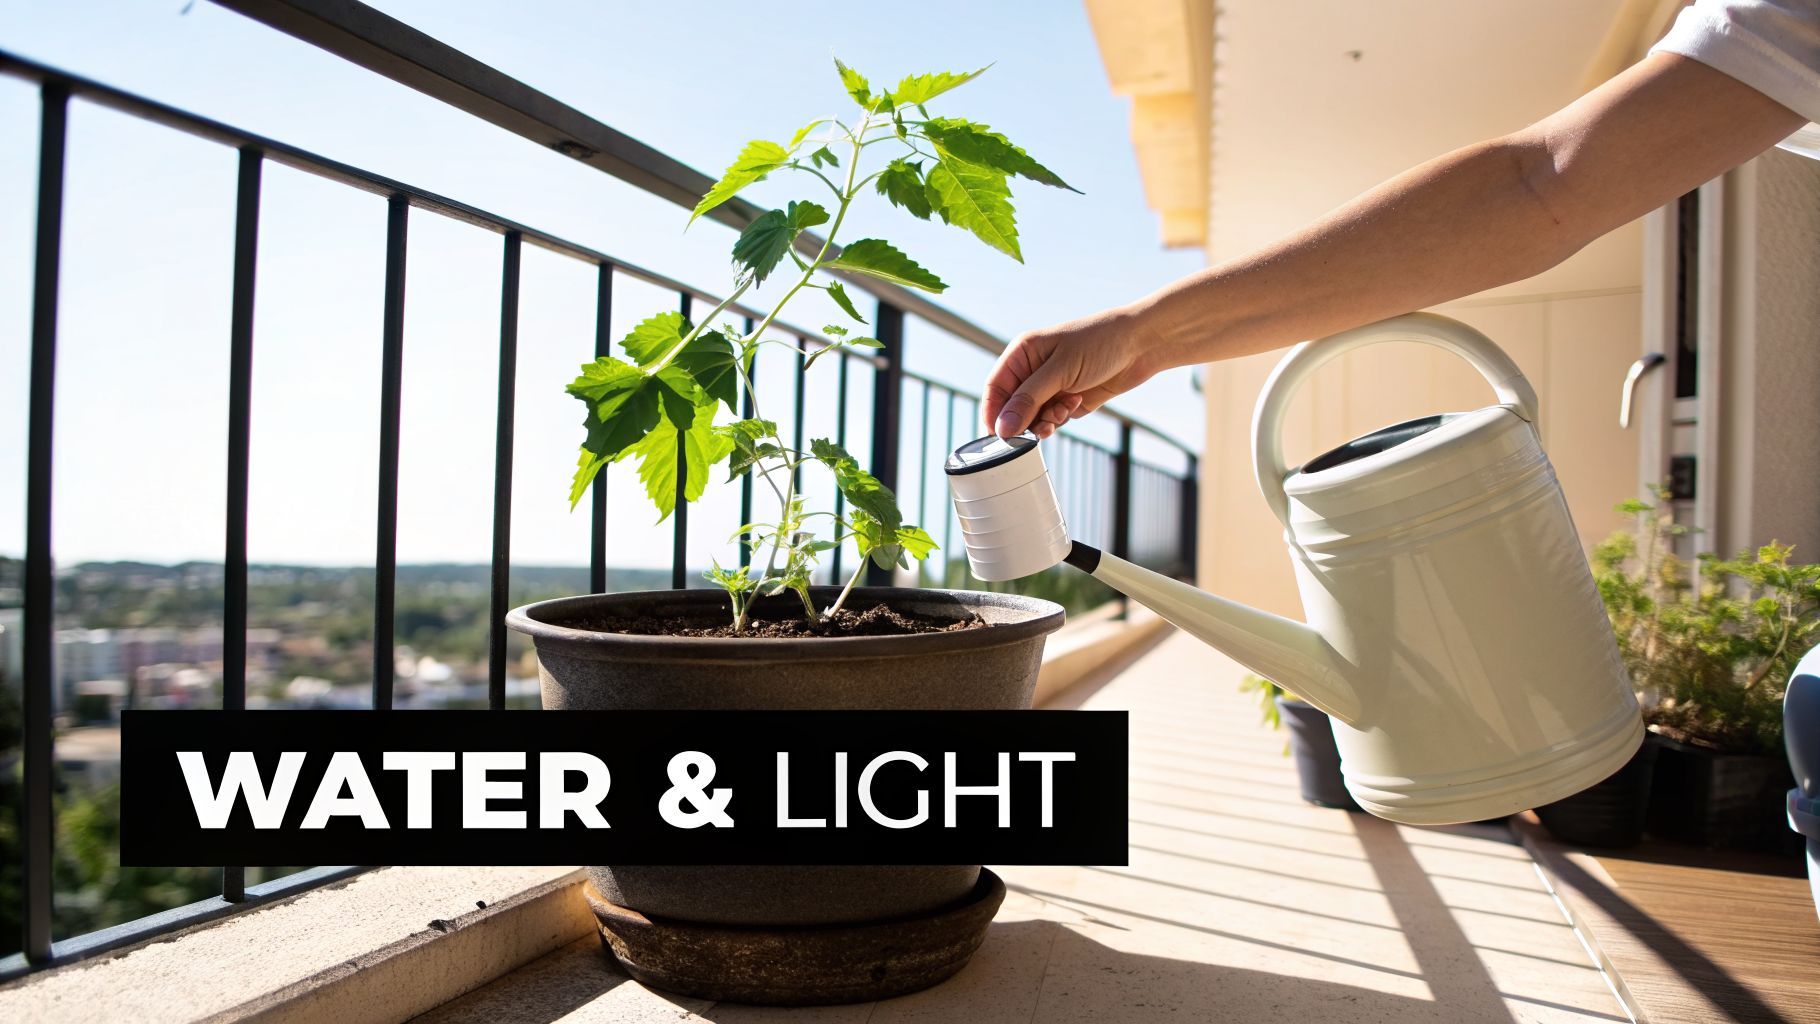
When you're growing veggies in pots, getting the watering and sunlight right is where the game is truly won or lost. I’ve seen more new gardeners stumble here than anywhere else, mostly because pots behave so differently from a garden bed. They’re self-contained environments that can dry out in just hours on a hot day, making consistent moisture a real challenge.
First things first: forget rigid schedules like watering "every second day". The best way to garden is to listen to your plants and learn their cues. There are a couple of simple, foolproof methods I always recommend to figure out exactly when it’s time to water.
How to Know When to Water
The classic technique is the ‘finger test’. It’s as simple as it sounds. Just poke your index finger about 5cm deep into the soil. If it comes out dry with no soil sticking to it, it’s time to give your plant a good, deep drink. If the soil feels damp and clings to your finger, you can hold off for another day.
Another great trick, especially for smaller pots, is the ‘lift test’. Once you’ve watered a pot thoroughly, get a feel for its weight. A day or two later, lift it again. If it feels noticeably lighter, you know the soil has dried out and it's ready for more. Over time, you’ll develop a real intuitive sense of your plants' needs this way.
My number one rule for watering pots? Always water deeply, not just a little sprinkle on top. Pour water slowly and steadily until you see it running freely from the drainage holes. This ensures the entire root ball gets saturated, encouraging strong, deep roots.
Getting Strategic About Sunlight
Sunlight is the other half of the puzzle. Before you even think about planting, spend a day watching the sun move across your space. Where does it hit, and for how long? Most of your classic fruiting veggies need a serious amount of direct sun to be productive.
-
Full-Sun Lovers (6+ hours): These are the sun-worshippers of the veggie world. Plants like tomatoes, capsicums, cucumbers, and eggplants need at least six hours of direct, unfiltered sun to produce a good harvest. Honestly, eight hours is even better if you can get it.
-
Partial-Sun Tolerant (3-5 hours): If your balcony or patio only gets morning sun or is a bit shady, don't despair! Leafy greens are your best friends. Things like spinach, kale, rocket, and most loose-leaf lettuces are perfectly happy with 3-5 hours of less intense light.
Don't have a spot with perfect sun? You can get a bit creative. Placing pots near a light-coloured wall can reflect extra light and warmth onto your plants, giving them a welcome boost.
On the other hand, during a brutal Aussie summer heatwave, a piece of light-coloured shade cloth can be an absolute lifesaver. It will protect sensitive plants like lettuce from scorching in the afternoon sun and bolting (flowering prematurely). Once you get a handle on these two elements, you’re well on your way to a fantastic potted harvest.
A Simple Guide To Feeding And Pest Control
Growing in a pot is a bit like managing a small, self-contained world. Since it's a closed system with limited resources, you get to play the role of Mother Nature. That means it’s up to you to provide the food your plants need to really thrive, especially since nutrients tend to wash out of the soil every time you water.
It helps to remember that not all veggies have the same appetite. Think of plants like tomatoes, capsicums, and eggplants as "heavy feeders"—they're always hungry and demand a steady supply of nutrients to give you a bountiful harvest. On the flip side, "light feeders" such as lettuce, spinach, and most herbs are much less demanding and get by with a lot less.
Understanding Plant Food
Fertiliser labels can look a bit like a secret code at first, but they all boil down to three key numbers: the N-P-K ratio. This simply shows you the percentage of Nitrogen (N), Phosphorus (P), and Potassium (K) in the mix.
- Nitrogen (N): This is all about promoting lush, green, leafy growth.
- Phosphorus (P): Absolutely vital for developing strong roots and encouraging flowers and fruit.
- Potassium (K): Think of this as the general health tonic, supporting overall plant vigour and disease resistance.
A balanced, all-purpose fertiliser with equal numbers (like a 10-10-10) is a fantastic starting point for most potted plants. For your fruiting varieties, though, you’ll want to look for something a bit higher in phosphorus and potassium to encourage them to produce more flowers and fruit, rather than just masses of leaves.
When it comes to feeding your potted garden, you’ve got two main options. Slow-release granules are brilliant; you just mix them into your potting soil when you first plant, and they'll provide a steady food source for months. Then you have liquid feeds, like fish emulsion or seaweed solution. These are fast-acting and perfect for giving your plants a quick pick-me-up. I personally like to give my heavy feeders a dose of liquid feed every few weeks during their peak growing season.
It's so easy to think that more food equals more veggies, but over-fertilising is a classic mistake. Too much can actually burn your plant's delicate roots and cause more harm than good. Always follow the directions on the package, and if you're ever in doubt, it's safer to use a weaker solution.
Natural Pest Management In Pots
Sooner or later, you're bound to find a few unwanted guests in your garden. The real key is to act fast, before a small bug problem turns into a major infestation. Get into the habit of checking your plants regularly, especially the undersides of leaves where pests love to hide out.
The most common culprits in container gardens are usually tiny sap-sucking insects like aphids and spider mites. Thankfully, you don’t need to reach for harsh chemicals to get them under control. A simple homemade insecticidal soap spray works wonders. Just mix one teaspoon of a gentle, additive-free dish soap into one litre of water, give it a good shake, and spray it directly onto the pests.
For some fungal issues or other pests, you might find that a diluted food-grade hydrogen peroxide solution offers a safe and non-toxic remedy. It's a great tool to have in your natural pest control kit.
Don't forget about nature's own pest patrol! Introducing beneficial insects like ladybugs or lacewings to your balcony garden can be a game-changer. They create a natural, self-regulating ecosystem where these helpful predators keep pest populations down for you. It's all about working with nature, not against it.
Harvesting Your Bounty And Preparing For Next Season
This is what it's all about—the moment you get to taste the results of all your care and attention. Knowing the right time to pick your veggies is everything. It’s the secret to getting that perfect flavour and crunch, and for many plants, a timely harvest actually signals them to produce even more.
With leafy greens like spinach or loose-leaf lettuce, the 'cut-and-come-again' method is your best friend in a pot-based garden. Instead of yanking out the whole plant, just use scissors to snip off the outer, larger leaves. Leave the smaller, central ones to keep growing, and you can get a steady stream of fresh greens from one pot for weeks on end.
For root vegetables like carrots and radishes, you have to do a little gentle investigation. I like to carefully brush the soil away from the top of the root. If the carrot's shoulder looks a good width or the radish has that nice, plump, round shape, it’s good to go. Before you pull, loosen the soil around it with a small trowel to avoid snapping the root clean off.
Planning For The Next Cycle
A smart gardener is always thinking at least one season ahead. As one harvest winds down, it's the perfect opportunity to get your pots ready for the next round. This is how you turn a single successful crop into a year-round gardening obsession.
First, you need to decide what to do with the finished plants. For annuals like tomatoes or beans that have given you their all, it's time to pull the entire plant, roots and all. Chuck them into your compost bin where they'll break down and become fantastic, nutrient-rich food for your future plants. Clearing them out also gets rid of any hiding spots for pests or diseases.
Don't even think about throwing out that old potting mix! It might be low on nutrients, but the soil itself is still perfectly good. Reusing it is not only cheaper but a much more sustainable way to approach container gardening.
To bring your old soil back to life, tip it out into a large tub or a wheelbarrow. Get your hands in there and break up any big clumps, sifting through to pull out old roots or bits of plant debris.
Next, it's time to enrich the soil. A simple but incredibly effective recipe is to mix your old soil with about 25-30% fresh, high-quality compost or worm castings. This dose of organic matter puts back all the essential nutrients and beneficial microbes your last crop used up. If you want to give it an extra kick, mix in a handful of a balanced, slow-release granular fertiliser.
Once your soil is refreshed and your pots are clean, you're all set to start again. Think about what the upcoming season will bring. As summer fades, you can swap out sun-loving capsicums for cool-weather champions like kale or silverbeet. This kind of succession planting keeps your small space productive all year long. By planning ahead, you’ll always have something delicious to harvest and new ways to enjoy your produce, like in these fantastic vegetarian hot dogs.
Your Top Questions About Pot-Grown Veggies
No matter how long you've been gardening, there are always a few questions that pop up, especially when you're working with pots. Let's run through some of the most common ones I hear from fellow gardeners, both new and seasoned.
A lot of beginners get stuck right at the start: choosing a pot. The sheer number of options can be overwhelming. So, what’s my go-to recommendation for someone just starting out?
Aim for a pot that’s around 20-25 litres. I find this size is the perfect sweet spot. It’s generous enough to hold moisture well (meaning it’s more forgiving if you forget to water one day), but it's not so huge that you can't move it around your balcony or patio. It’s the ideal home for a single tomato plant, a happy capsicum, or a lush mix of your favourite herbs and lettuces.
Giving Your Plants a Bigger Home and Reviving Old Soil
Eventually, a happy plant will need a bigger home. If you start seeing roots peeking out the drainage holes, or the soil seems to dry out almost as soon as you water it, that’s your cue to 'pot up'.
This is actually a great sign – it means your plant is flourishing! To give it more room to stretch its roots, just follow these simple steps:
- Find a new pot that's about 5-10cm wider than the old one.
- Give the plant a good drink about an hour beforehand. This helps the whole root ball slide out cleanly without a fight.
- Gently ease the plant out, pop it into its new home, and backfill the empty space with a high-quality potting mix.
At the end of the season, a big question is always about reusing soil. Can you do it? Absolutely, but with a little prep work. You can't just plant straight back into it, as old soil gets compacted and stripped of its goodness.
To bring it back to life, just tip it into a wheelbarrow or onto a tarp. Break up all the clumps, pull out any old, dead roots, and then mix in about 25-30% fresh compost. This recharges the soil with nutrients and brings back that light, fluffy structure that roots love. If you’re keen on other ways to create new plants for free, our guide on growing roses from cuttings offers some fantastic propagation tips.
A Quick Tip from Experience: When feeding your potted veggies, always, always water the soil before adding liquid fertiliser. Pouring it onto dry soil is a surefire way to scorch the plant's sensitive roots. A little pre-watering helps it absorb the nutrients gently.
And what about feeding schedules? It really comes down to the plant. Heavy feeders like tomatoes and cucumbers are always hungry and will thank you for a balanced liquid feed every 2-3 weeks during their main growing spell. For less demanding plants like leafy greens or herbs, a top-up once a month is usually perfect.
At Everti, we believe in creating tools that last a lifetime, elevating your daily routines from the garden to the kitchen. Discover our range of SGS-verified, 99.9% pure titanium kitchen essentials designed for health, durability, and timeless performance. Explore the collection at https://everti.com.au.