

Ever seared a steak on the stovetop, only to have to dirty a second dish just to finish it in the oven? There’s a better way. An oven-safe frying pan lets you get that perfect, crusty sear and then slide the whole thing into the oven to cook through, all in one go. It’s the kind of kitchen shortcut that genuinely changes the game, simplifying your process and cutting down on cleanup.
This simple tool is the secret to getting those restaurant-quality results you’ve been chasing at home.
The Secret to Better Meals: Stovetop to Oven
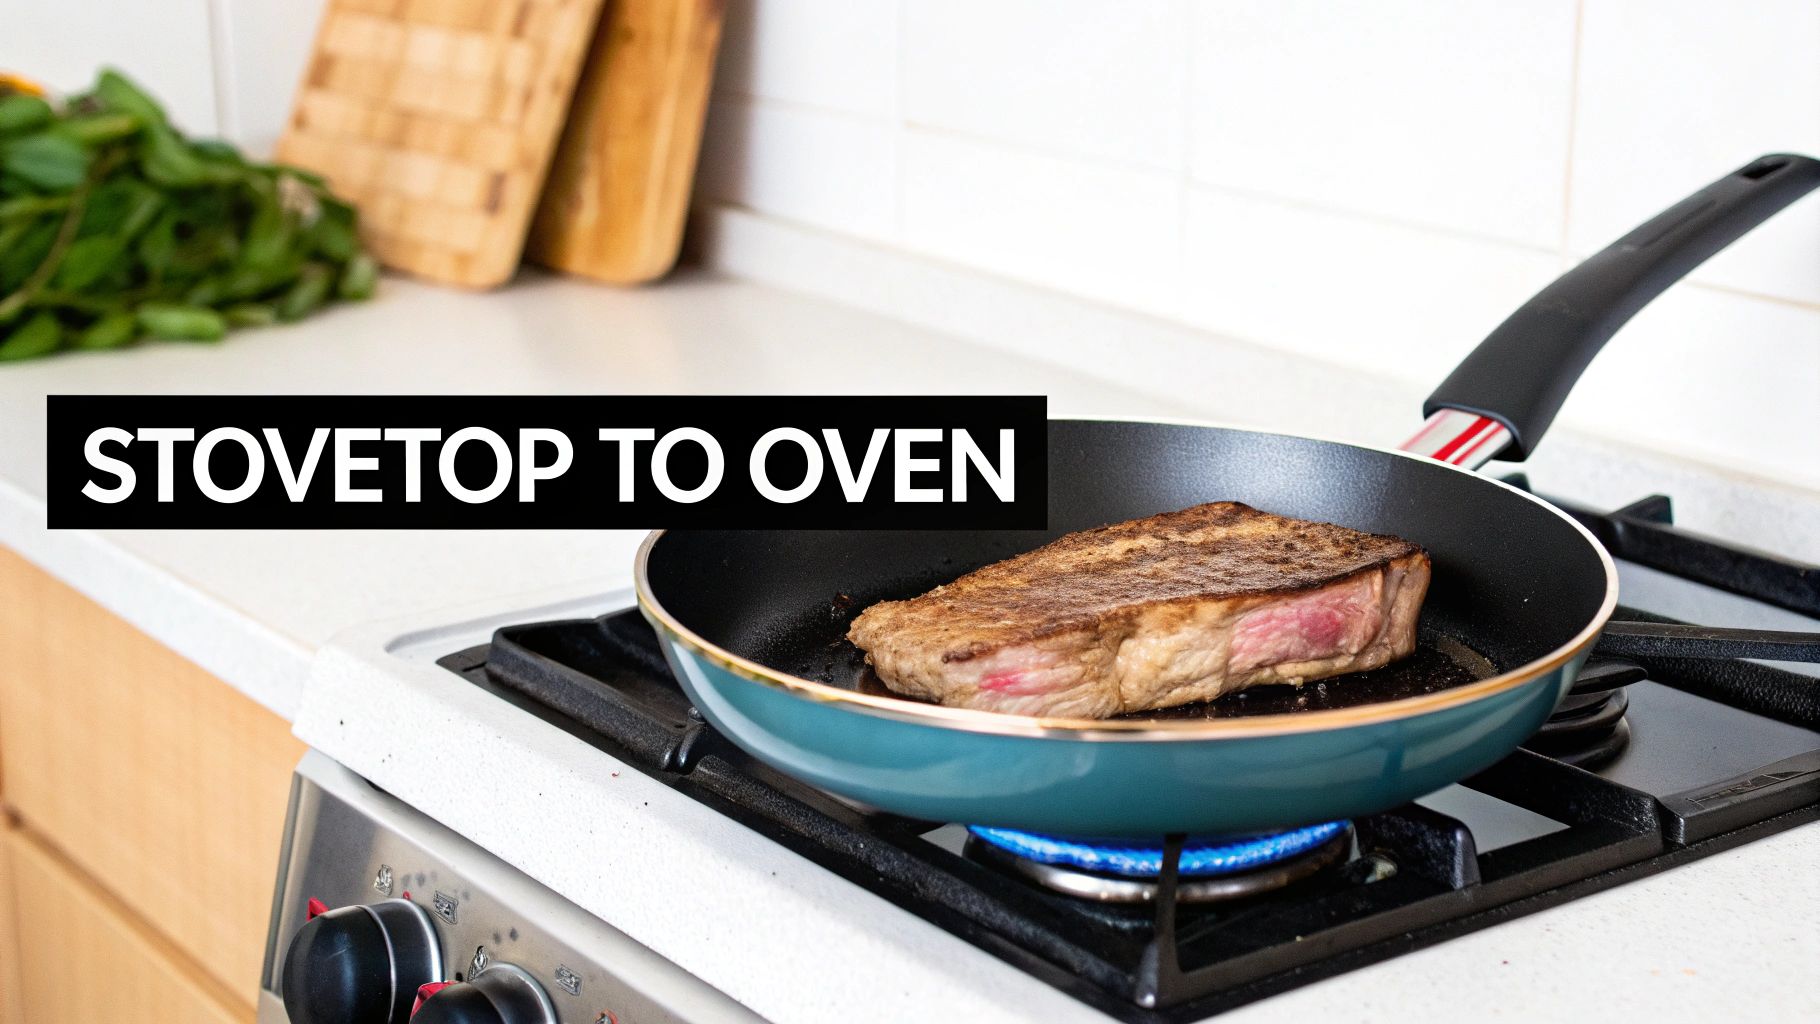
Think of an oven-safe frying pan as the bridge between two different cooking worlds. It gives you the direct, high-heat power of the stovetop and the gentle, all-over warmth of an oven. This means you don't have to awkwardly transfer hot food from a pan to a baking tray, making your time in the kitchen feel a lot more seamless.
But it’s about more than just convenience. This stovetop-to-oven method is exactly what professional chefs use to build incredible depth of flavour and achieve flawless textures. You’re truly getting the best of both cooking methods. The initial sear creates that delicious, browned crust (the Maillard reaction), while finishing it in the oven cooks the inside evenly without burning the outside.
Why Every Home Cook Needs One
For anyone cooking at home, this one piece of cookware opens up a whole new playbook of recipes. Dishes that might have seemed too fussy before suddenly become weeknight possibilities, all because you know your pan can handle the heat from start to finish.
Here’s a taste of what you can do with an oven-safe frying pan:
- Perfectly Cooked Proteins: Get a deep, golden sear on chicken thighs, pork chops, or fish fillets on the stove, then bake them until they're tender and juicy all the way through.
- One-Pan Dinners: Make life easier by sautéing your veggies and protein, stirring in a sauce, and then baking the whole meal together. Less mess, less stress.
- Stunning Desserts: You can bake giant skillet cookies, rustic fruit crumbles, or cornbread that go straight from the oven to the table for a brilliant, family-style presentation.
It's no surprise that more and more people are investing in quality, multi-functional cookware. In Australia, the kitchenware market is currently valued at approximately USD 3.85 billion and is expected to grow to USD 6.59 billion by 2033. This boom is all about the demand for smart, versatile tools like the oven-safe frying pan. You can read more about Australian kitchenware market trends on imarcgroup.com.
Choosing the Right Frying Pan Material
Picking the right material for an oven-safe frying pan is a bit like choosing the right tool for a job. Each material has its own personality—its own strengths and quirks. Getting to know them is the secret to finding a pan that not only survives the oven but actually thrives in it, matching the way you cook.
Let's dive into the most popular materials and see what makes each one tick, especially when you take it from the stovetop and slide it into the intense, dry heat of an oven.
Cast Iron: The Heavyweight Champion
Think of cast iron as the slow-burning log in a fireplace. It takes its time to heat up, but once it gets there, it holds that heat like nothing else. This incredible heat retention is its superpower, making it the undisputed champ for getting a deep, crusty sear on a steak or baking the perfect golden-brown cornbread.
With a little care, a well-seasoned cast iron pan develops a natural, almost non-stick surface that only improves the more you use it. Plus, it can handle blistering-hot temperatures, so you’ll never have to second-guess its limits.
- Heat Tolerance: Extremely high, often pushing past 400°C.
- Best For: Searing steaks, roasting veggies, baking skillet brownies, and any dish needing serious, sustained heat.
- Quirks: It’s heavy, no doubt about it. It also needs regular "seasoning"—wiping a thin layer of oil on and heating it—to build up its non-stick layer and keep rust away. Be wary of acidic foods like tomatoes, as they can strip the seasoning and sometimes leave a metallic taste.
Key Insight: The real magic of cast iron is its thermal mass. Because it holds heat so well, dropping a cold steak into the pan won't cause the temperature to crash. This is what guarantees you a powerful, consistent sear every single time.
Stainless Steel: The Versatile All-Rounder
If cast iron is the specialist, then stainless steel is the dependable all-rounder. It's the workhorse you'll find in nearly every professional and home kitchen, and for good reason. It’s tough, doesn’t react with your food, and heats up beautifully and evenly, especially when it has a core of a more conductive metal like aluminium or copper.
A good quality stainless steel pan will handle high oven temperatures without breaking a sweat, making it a fantastic choice for countless stovetop-to-oven recipes. It's also fairly low-maintenance and can usually go straight in the dishwasher, striking a great balance between performance and convenience.
- Heat Tolerance: Typically safe up to 260°C, though some high-end brands can go even higher.
- Best For: Pan-roasting chicken, finishing off sauces, browning meat before a braise, and pretty much any general-purpose cooking.
- Quirks: Food can stick if you don't use it right. The secret is to let the pan get hot enough before adding your oil or fat.
Carbon Steel: The Lighter, Nimbler Cousin
Carbon steel is often called the love child of cast iron and stainless steel, and it really does borrow some of the best traits from both. Just like cast iron, it's a solid piece of metal that builds a fantastic non-stick seasoning over time. But here's the kicker: it's much lighter and thinner, so it heats up and cools down way faster.
That responsiveness gives you a level of control over temperature that professional chefs adore. It handles intense oven heat just as well as its heavier cousin, making it an incredible choice for an oven-safe pan.
Ceramic Coated Pans: The Modern Non-Stick Option
For anyone who wants an easy-release, non-stick surface without the traditional chemicals, ceramic-coated pans have become a go-to. They make cooking and cleanup incredibly simple. The trade-off? You have to be mindful of their temperature limits, which are usually lower than all-metal pans to protect the coating's integrity.
The push for healthier cooking has really fuelled the popularity of these pans. In fact, the Australian non-stick cookware market was valued at USD 324.13 million in 2024 and is expected to jump to USD 538.61 million by 2033, a trend largely driven by people wanting safer, chemical-free surfaces in their kitchens. You can see more on the growth of the Australian non-stick market at databridgemarketresearch.com. If you're looking to explore more cookware that aligns with this, our guide on the best non-Teflon frying pans is a great place to start.
Oven Safe Frying Pan Material Comparison
To help you get a clearer picture, here's a quick rundown of how these common materials stack up against each other for oven use.
| Material | Average Oven Temp Limit (°C) | Best For | Key Feature |
|---|---|---|---|
| Cast Iron | 400°C+ | Searing, baking, deep-frying | Unmatched heat retention |
| Stainless Steel | ~260°C | All-purpose cooking, searing, sauces | Durability and even heating |
| Carbon Steel | 400°C+ | High-heat searing, stir-frying | Lightweight and responsive |
| Ceramic Coated | ~200°C | Eggs, fish, delicate foods | Easy-release non-stick surface |
At the end of the day, the best material for you really comes down to how you cook. A die-hard steak lover might swear by their cast iron skillet, while someone who values everyday convenience and versatility will probably reach for their stainless steel pan time and time again.
How to Tell If Your Frying Pan Is Oven Safe
Before you move a sizzling hot pan from the stovetop straight into the oven, you need to be absolutely sure it can handle the journey. Getting this wrong doesn't just mean a ruined dinner; you could wreck your cookware, release nasty fumes, or even create a serious safety risk. Thankfully, figuring out if you have an oven-safe frying pan is pretty simple once you know what to look for.
Think of yourself as a kitchen detective for a moment. You're looking for clues—the materials, how the handle is built, and any little symbols—to make a confident call. This quick mental checklist will help you assess any pan in seconds, whether it's brand new or an old faithful you've had for years.
Look for the Universal Symbol
The most obvious clue is often stamped right on the bottom of the pan itself. Cookware manufacturers use a standard oven-safe symbol to make it crystal clear. This icon usually looks like a simple drawing of an oven, sometimes with wave lines or a temperature figure inside.
If you see this symbol, you’re good to go. It’s the manufacturer’s promise that the pan is designed and tested for oven heat. Often, they’ll even print the maximum safe temperature right next to it (e.g., "Oven safe to 260°C"), which takes all the guesswork out of it.
Inspect the Handle Construction
No symbol? Your next port of call is the handle. The handle is almost always the weakest link when it comes to oven use because it’s the part most likely to be made from something that can’t stand the heat.
- All-Metal Handles: If the handle is made from the same stuff as the pan body—like cast iron or stainless steel—that’s a huge green light. These are built for high temperatures.
- Plastic or Bakelite Handles: These are a major red flag. Most plastics will melt, warp, or let off toxic fumes in a hot oven. Unless it's explicitly marked as oven-safe to a certain temperature, just don't risk it.
- Wooden Handles: Wood and ovens don't mix. It will dry out, crack, char, and could eventually catch fire. Never put a pan with a wooden handle in the oven.
- Silicone Grips: This is where it gets a bit tricky. Some pans have metal handles with a silicone sleeve for a better grip. High-quality, heat-resistant silicone might be fine up to around 200°C, but cheaper versions definitely are not. Always double-check the manufacturer's advice for these.
The Golden Rule: When in doubt, if any part of your pan looks or feels like plastic, wood, or soft rubber, keep it on the stovetop. The intense, dry heat inside an oven is unforgiving.
This diagram can help you visualise how your own cooking priorities point you toward the right oven-safe material.
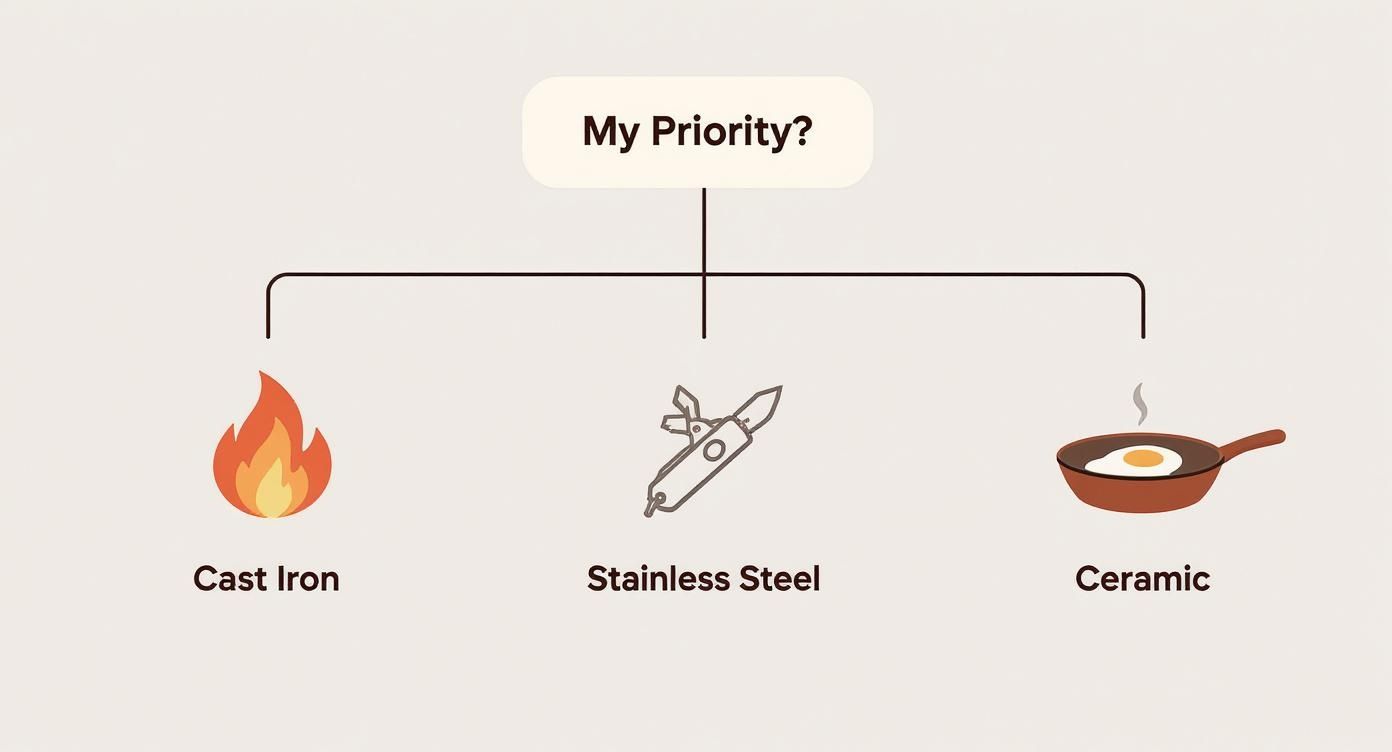
The takeaway here is that the "best" material really depends on what you want to achieve, whether that's searing at screaming-hot temperatures, everyday versatility, or fuss-free non-stick cooking.
Consult the Manufacturer's Guide
When all else fails, the most reliable source of truth is the company that made the pan. If you still have the original packaging or can find the pan online, the manufacturer’s website will give you the exact details on its oven safety and temperature limits. A quick search for the brand and model number is all it takes to avoid a costly mistake.
For a deeper dive, our comprehensive guide to oven safe cookware offers more detailed insights and comparisons. It's a fantastic resource for anyone wanting to build a truly versatile and durable kitchen arsenal.
Mastering Your Pan for Oven Cooking
Having the right oven-safe frying pan is a great first step, but the real magic happens when you master the techniques that bridge the stovetop and the oven. This is where you can elevate simple dishes into something truly special. So, let’s move from theory to practice and explore the skills that will get you delicious, consistent results every time.
The journey often starts before your pan even sees the inside of an oven. Many recipes benefit from preheating your pan right on the stovetop. That initial blast of direct heat is the secret to getting a deep, flavourful sear on everything from a thick pork chop to chicken thighs.
This technique, known as pan-searing, kicks off the Maillard reaction—that wonderful chemical process that gives browned food its incredible taste and aroma. By searing first, you lock in juices and build a foundation of flavour that cooking in the oven alone just can't match.
Always Put Safety First
Once your pan is hot and ready to move, safety has to be your top priority. The single most important rule is to always use oven mitts or dry, thick cloths to handle the pan. A handle that was perfectly fine on the stovetop becomes dangerously hot after even a few minutes in a 200°C oven.
It’s a surprisingly common mistake for even seasoned cooks to forget and grab a hot handle out of habit. A good trick is to drape a tea towel over the handle as a visual cue that it’s scorching hot, even after it’s out of the oven.
Another crucial safety point is avoiding thermal shock. This happens when a pan experiences a sudden, extreme temperature change—like when you take a sizzling hot pan and plunge it into cold water. This can cause the metal to warp, buckle, or, in the worst-case scenario, even crack.
To prevent thermal shock, let your pan cool down on a heat-resistant surface for at least 10-15 minutes before washing. This gentle cool-down protects the pan's structure, keeping it flat and useful for years to come.
Practical Techniques for Perfect Results
With safety covered, we can get back to the fun part: the cooking. The beauty of an oven-safe frying pan is its incredible versatility. It's no wonder the worldwide frying pan market, which includes these multi-talented pans, was valued at over USD 1.85 billion in 2024. The pandemic sparked a huge increase in home cooking, fuelling demand for tough cookware that could handle everything from the hob to the oven. You can find more details about the global frying pan market trends on cognitivemarketresearch.com.
Here are a few real-world examples of how to put your pan to work:
- Finishing a Thick Steak: Sear your steak in a hot, lightly oiled pan on the stovetop for 2-3 minutes per side until a beautiful brown crust forms. Then, slide the entire pan into a preheated oven (around 200°C) to gently cook it through to your perfect level of doneness.
- Baking Skillet Cornbread: Get your cornbread batter ready. While the oven preheats, put your cast iron or stainless steel pan inside to get screaming hot. Carefully pull the hot pan out, drop in a knob of butter, swirl it to coat, and pour in the batter. That immediate sizzle is the start of an unbeatable crust.
- Creating the Perfect Frittata: Sauté your vegetables and other fillings on the stovetop. Pour your egg mixture right over the top, let it cook for a minute until the edges just start to set, then move the pan into the oven to bake until the centre is firm.
Once you've mastered your oven-safe frying pan, you might want to learn the proper use of a roasting pan. Understanding how each piece of cookware shines will make you a more confident and capable cook.
Caring for Your Cookware to Make It Last
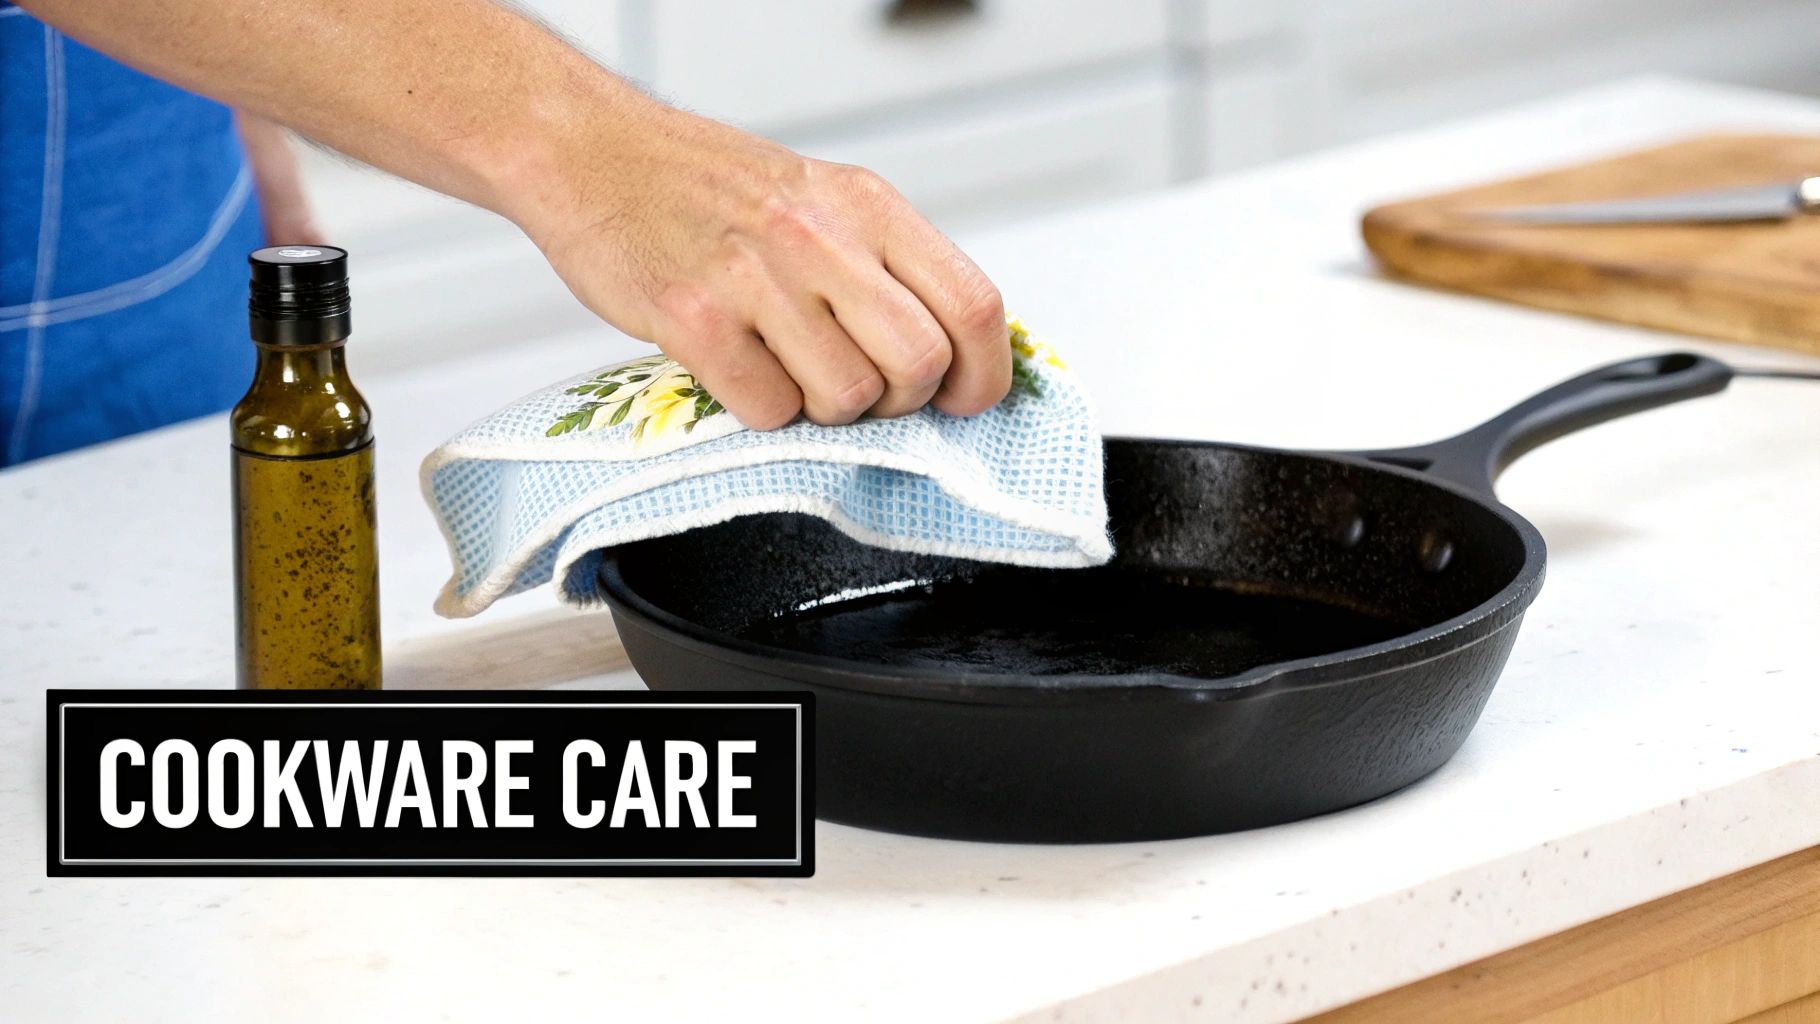
A good oven-safe frying pan is a real kitchen workhorse, but it's also an investment. With the right care, a quality pan won't just last a few years—it can become a go-to piece you'll rely on for decades.
But here's the thing: different materials have different needs. You wouldn't treat a delicate ceramic pan the same way you'd handle a rugged cast iron skillet. Understanding how to properly maintain your pan is the secret to keeping it performing at its best, meal after meal.
The Art of Seasoning Cast Iron
If you own cast iron, you've heard the word "seasoning." Don't let it intimidate you. Think of it as creating your own natural, non-stick surface. Seasoning is just a thin layer of cooking oil that has been baked onto the pan, bonding with the metal to create a slick, protective coating that gets better with every use.
Every new cast iron pan needs a good initial season, and every old one needs that layer maintained. It's a simple ritual.
- Clean and Dry Completely: Give the pan a good wash with warm, soapy water (this is one of the only times soap is recommended!). Then, dry it meticulously. A minute or two on a low burner will get rid of any last trace of moisture.
- Apply a Super-Thin Layer of Oil: Grab a paper towel and rub a very thin coat of a neutral oil with a high smoke point—like vegetable or grapeseed oil—over the entire pan. Don't forget the handle and the bottom.
- Bake It: Pop the pan upside down in the oven, preheated to about 230°C. Let it bake for an hour. This process, called polymerisation, is what creates the durable, non-stick magic. Turn the oven off and let it cool down completely inside.
After that, your daily maintenance is easy. Just scrub the pan with hot water and a brush (no more soap!), dry it well, and wipe a tiny bit of oil on the inside while it's still warm.
Reviving and Maintaining Stainless Steel
Stainless steel is tough as nails, but it can develop stubborn, burnt-on spots or that strange, rainbow-like discolouration from heat. The trick to keeping it looking brand new isn't brute force—it's about using a bit of kitchen chemistry.
If food is seriously stuck, put down the steel wool. Instead, pour enough water into the pan to cover the mess, add a generous splash of white vinegar, and bring it to a simmer. The stuck-on food will lift right off, letting you gently scrape it away with a wooden spoon.
Pro Tip: For those annoying heat stains or white mineral deposits, a simple paste of baking soda and water works wonders. Apply it, let it sit for a bit, then gently scrub with a soft sponge. It polishes the pan back to its original gleam without a single scratch.
While many stainless steel pans are technically dishwasher-safe, you'll preserve their mirror finish much longer by hand washing. If you're curious about which pans can truly handle the machine, our guide on dishwasher safe pans has some great pointers.
Preserving Non-Stick and Ceramic Coatings
Pans with non-stick or ceramic coatings are all about that easy-release surface. But that surface is delicate. Protecting it is the single most important thing you can do to make the pan last.
There are a few golden rules you just can't break.
- No Metal Utensils: This is a big one. Always reach for silicone, wood, or nylon. Metal tools will cause tiny scratches that ruin the non-stick coating over time.
- Hand Wash Only: We know, it's tempting. But even if the box says "dishwasher safe," the high heat and harsh detergents will slowly destroy the coating. A quick wash with a soft sponge is all it needs.
- Keep the Heat Down: Most non-stick coatings aren't designed for searing heat. Using them on low to medium stovetop settings will prevent the surface from breaking down and losing its slickness.
- Skip the Cooking Sprays: Those aerosol cooking sprays often contain additives that can build up on the pan's surface, creating a gummy residue that’s almost impossible to remove and actually makes food stick.
Following these simple, material-specific habits isn't just about cleaning. It’s about active maintenance that keeps your favourite oven-safe frying pan in prime condition for whatever you decide to cook next.
Common Questions About Oven-Safe Pans
Even after you've got the basics down, a few questions always seem to pop up when it's time to actually slide that frying pan into the oven. Getting straight answers to these common queries is the key to cooking with confidence and making the most of your cookware. Let's clear up any lingering doubts about what you can and can't do.
Think of this as your go-to reference for those "Is it okay if I...?" moments. Knowing this stuff means you can move from the stovetop to the oven without a second thought.
Can I Put Any Frying Pan in the Oven?
This is the big one, and the answer is a hard no. Not all frying pans are built to handle the intense, all-around heat of an oven. Tossing the wrong pan in there can lead to melted handles, nasty fumes, and a permanently ruined piece of cookware.
Whether a pan can safely go in the oven boils down to two things: its body material and, crucially, what its handle is made of.
- Materials That Are Almost Always Safe: Pans made entirely from a single piece of metal—like cast iron, carbon steel, and good-quality stainless steel—are your safest bets. With no separate parts to fail under heat, they can usually handle very high temperatures.
- Handle Materials to Watch Out For: Be really careful with pans that have plastic, wood, or certain rubber or silicone handles. Wood can dry out, crack, or even start to char. Standard plastic will melt, warp, and can release some pretty unpleasant chemicals.
If a pan isn't clearly marked as oven-safe by the manufacturer, it's safest to assume it belongs on the stovetop and nowhere else.
How Do I Find My Pan's Max Temperature?
Knowing your pan’s specific heat limit is non-negotiable. Pushing it past its maximum recommended temperature can wreck non-stick coatings and weaken the handle. Luckily, finding this information is usually pretty straightforward.
Your first and best port of call is always the manufacturer. Check the original box it came in or jump onto the brand's website—most reputable companies list detailed specs for their products.
The Quickest Check: Just flip your pan over. Manufacturers often stamp the maximum safe temperature (e.g., "Oven safe to 260°C") right onto the base, often next to the oven-safe symbol. This takes all the guesswork out of it.
If you’ve looked everywhere and can’t find any info, it’s always better to play it safe. As a rough guide:
- Cast Iron & Carbon Steel: These workhorses can typically handle temperatures well over 260°C.
- Stainless Steel: High-quality stainless steel pans are often safe up to 260°C.
- Non-Stick Coatings (Ceramic/PTFE): These usually have a lower limit, often around 200°C, to prevent the surface from degrading.
What Is Thermal Shock and How Do I Avoid It?
Ever heard of a pan warping or buckling? That’s often caused by thermal shock. It’s the stress put on cookware when it goes through a sudden, massive temperature change. This rapid expansion or contraction can warp, crack, or in some rare cases, even shatter your pan.
Imagine taking a sizzling hot pan and plunging it into a sink of cold water. That jarring temperature drop is exactly what causes thermal shock. The good news is, avoiding it is incredibly easy—it just takes a little patience.
The golden rule is simple: always let your cookware change temperature gradually.
- Hot to Cold: Never, ever take a pan straight from a hot oven or burner and run it under cold water. Let it sit on a trivet or a cool part of the stovetop for at least 10-15 minutes before you think about washing it.
- Cold to Hot: Try to avoid putting a very cold pan (like one you’ve just pulled from the fridge) straight onto a high-heat burner. Give it a few minutes to warm up toward room temperature first.
Protecting your oven-safe frying pan from thermal shock is the single best thing you can do to make it last. It’s a simple habit that keeps your pan flat, ensures it heats evenly, and lets it serve you well for years to come.
At Everti, we believe in creating kitchen essentials that are as tough as they are beautiful. Our pure titanium cookware is designed to perform flawlessly from stovetop to oven, offering unmatched safety and longevity. Explore our collection of lifetime kitchen tools at https://everti.com.au.