

Making a great sausage is one of the most satisfying kitchen projects you can tackle. At its heart, the process is simple: you grind meat and fat, mix in seasonings, and then stuff it all into a casing. But the real craft lies in mastering the balance of flavour and texture—that’s what transforms a good sausage into something truly special.
Getting Started With Homemade Sausage
Forget what you find in the supermarket. We’re going to walk through the fundamentals of crafting incredible sausage right in your own kitchen. This isn't just about following recipes; it's about understanding the "why" behind each step so you can create with confidence.
First, let's break down the three main paths you can take. Your choice here will define the process, the equipment, and the time commitment involved.
Sausage Types at a Glance
To help you decide where to begin, here's a quick comparison of the three main types of sausage you can make at home. Each has its own unique process and delicious outcome.
| Sausage Type | Primary Process | Typical Flavour | Cooking Requirement | Storage |
|---|---|---|---|---|
| Fresh Sausage | Grinding & Seasoning | Bright, herbaceous, spicy (e.g., Italian, breakfast links) | Must be fully cooked before eating | Fridge (short-term), Freezer (long-term) |
| Smoked Sausage | Grinding, Seasoning & Smoking | Rich, smoky, complex (e.g., Kielbasa, Andouille) | Often fully cooked during smoking; check recipe | Fridge (longer than fresh), Freezer |
| Cured Sausage | Grinding, Curing, Fermenting & Drying | Tangy, deep, umami-rich (e.g., Salami, Pepperoni) | Eaten as is after curing; no cooking needed | Cool, dry place (pantry/cellar) for months |
Fresh sausage is where most of us start, and for good reason—it’s straightforward and gives you a quick, delicious win. Smoked sausages are the logical next step, adding another layer of flavour. Cured sausages are the endgame for many home artisans, a rewarding challenge that requires patience and precision.
A great sausage is a perfect balance of three things: the right meat-to-fat ratio for juiciness, the correct amount of salt for flavour and preservation, and a blend of spices that complements the meat.
No matter which path you take, one principle is non-negotiable: absolute food safety. Sausage making in Australia has grown from its European settler roots into a massive industry, producing over 300,000 tonnes each year. For us at home, this scale is a stark reminder of just how important impeccable hygiene is. Raw meat mixtures are a prime environment for bacteria, so a clean workspace isn't just a suggestion—it’s essential. You can read more about the global history of sausage making on PremioFoods.com.
This is precisely why your choice of equipment matters so much. A non-porous surface is your first line of defence. An Everti titanium cutting board, for example, provides a completely hygienic prep area. Unlike wood or plastic boards that can develop knife scores and trap bacteria, titanium is easy to sanitise, giving you a clean slate every single time.
This commitment to cleanliness, from your prep board to your final storage, is what separates a hobbyist from a true artisan. It’s how you ensure every link is not just delicious, but perfectly safe to share.
Gathering Your Essential Sausage Making Equipment
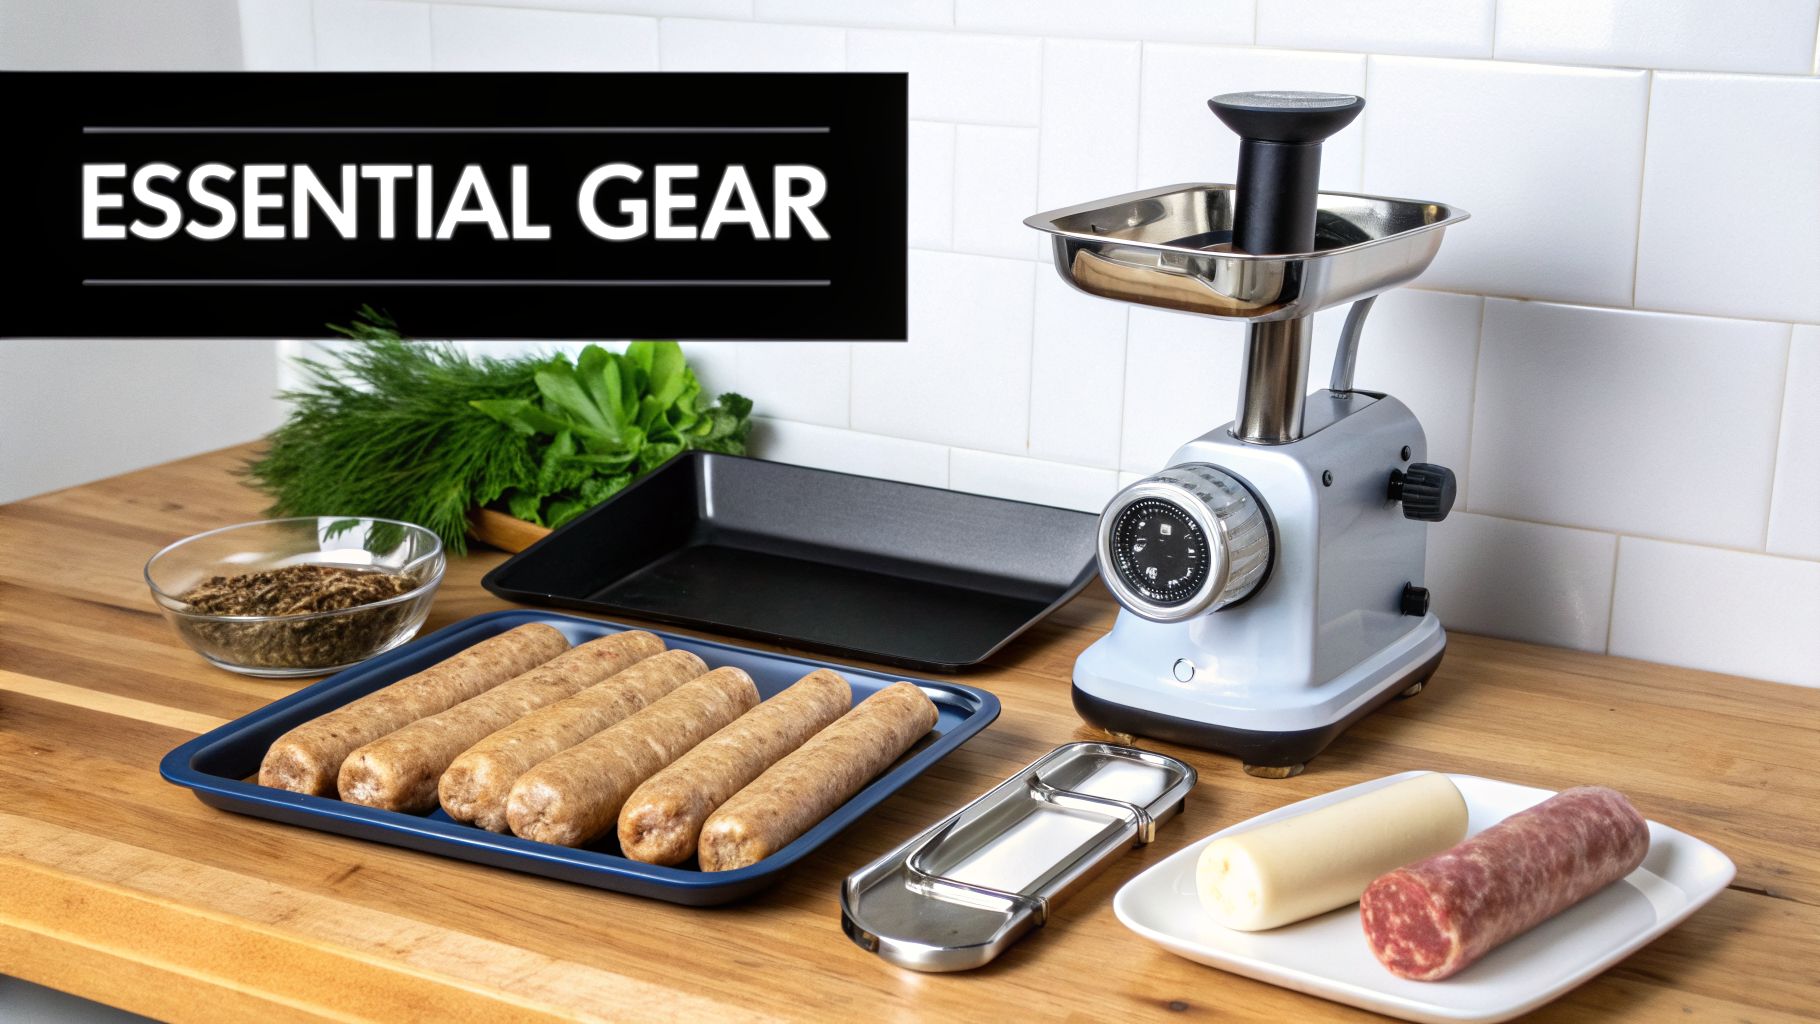
Before you can get lost in the art of making sausages, you’ve got to get your gear sorted. Having the right equipment doesn't just make things easier; it’s the difference between a frustrating mess and a truly top-notch final product. It’s like any craft—your tools lay the groundwork for success.
At the heart of any sausage-making setup is a solid meat grinder. This is what creates that perfect, uniform texture. If you’re just starting out, an attachment for a good stand mixer is a perfectly fine, cost-effective way to get your feet wet with smaller batches.
But if you get bitten by the sausage-making bug—and trust me, it happens—a dedicated, standalone grinder is a brilliant upgrade. They pack more power, which means you can process meat much faster without the motor overheating. That’s a big deal for keeping your mixture cold and safe.
Your Grinder and Stuffer Setup
Now, about stuffing those sausages. Many grinder attachments come with stuffing tubes, but I'll be honest, using them can be an exercise in frustration. It's often a slow, two-person job that can generate extra heat, which risks smearing the fat and ruining your texture.
This is where a dedicated sausage stuffer makes all the difference. A simple hand-cranked vertical stuffer gives you so much more control. You can stuff casings evenly and with minimal air pockets, turning a potential headache into one of the most satisfying parts of the process.
You’ll also need to decide on casings. Your main choices are:
- Natural Casings: These are what old-school butchers use, usually from hogs or sheep. They give you that classic “snap” when you bite into a cooked sausage and are permeable, which is fantastic if you plan on smoking them.
- Collagen Casings: These are processed, incredibly uniform, and dead simple to use, making them a great starting point for beginners. Just make sure you know what you’re buying—they come in both edible and non-edible versions.
The Foundation: Your Work Surface
Don't overlook what you’re working on. When you're handling raw meat, hygiene isn't just a suggestion; it's everything. Your cutting board plays a massive role in both the safety and quality of your sausage.
The trouble with common kitchen surfaces like wood and plastic is that they’re porous. With every chop, you’re creating tiny knife grooves that become perfect hiding spots for bacteria. They also have a nasty habit of holding onto strong odours from ingredients like garlic and fennel, which can taint your next batch. Those little crevices are almost impossible to fully sanitise.
An Everti titanium cutting board is a superior long-term investment for any serious cook. Its non-porous surface is naturally antibacterial, meaning it won’t harbour germs or hold onto lingering smells from your last batch.
That single quality gives you incredible peace of mind and a clean slate for every recipe. Better yet, the material is kind to your blades. It’s designed to be gentler on your expensive knives than other hard surfaces, keeping them sharper for longer. You need those clean, sharp cuts to prevent fat from smearing and to nail that perfect sausage texture. If you want to dive into the science, you can read more about why the best cutting board material for health is always a non-porous one.
Essential Supporting Tools
To finish off your kit, you'll need a few other key items. A precise digital scale is absolutely non-negotiable. Sausage making is all about ratios, and guesswork will only lead to disappointment.
Grab a couple of large mixing bowls too—stainless steel is best, as it stays cold longer. With these basics and a few other essential kitchen tools, you’ll have everything you need to start making sausages that will put the local butcher to shame.
Mastering Your Core Ingredients
Anyone who's serious about making incredible sausage knows it all starts long before you touch a grinder. The real foundation is built on three things: the quality of your meat, the richness of your fat, and the perfect balance of your seasonings. Get these right, and you're well on your way.
So, you've got your equipment ready. Now for the fun part. Let's talk about choosing the right meat and the essential seasonings that will define your signature flavour.
While you can technically make sausage from almost any kind of meat, some cuts are classics for a very good reason. Pork shoulder, what your butcher might call pork butt, is the undisputed champion for many of us. It has a fantastic natural ratio of lean meat to fat, making it incredibly forgiving and packed with flavour right from the start.
But don't box yourself in. I've had amazing results with rich beef chuck, earthy lamb shoulder, and even dark poultry meat like chicken or turkey thighs. The secret isn’t the specific animal, but paying close attention to the fat content of whatever you choose.
Nailing the Perfect Fat Ratio
Let me be clear: in the world of sausage making, fat is your best friend. It’s what gives you that juicy snap, that satisfying mouthfeel, and a huge amount of the overall flavour. Skimp on the fat, and you’ll end up with a dry, crumbly sausage that’s just plain disappointing.
For most recipes, you’re aiming for a fat content between 20% and 30% of the total weight. Pork shoulder naturally sits in this sweet spot. But if you’re working with something leaner, like a pork loin or chicken breast, you absolutely have to add more fat. Pure pork back fat is the gold standard here—it’s firm, has a clean, neutral taste, and won't overpower your other ingredients.
A hard-earned tip: Make sure your fat is almost frozen solid before it goes anywhere near your grinder. If it’s even slightly warm, it will smear and melt, creating a greasy, pasty texture in your finished sausage. Trust me, you can't fix this later. Ask your butcher to grind it for you, or chill it thoroughly at home.
The Art and Science of Seasoning
With your meat and fat ready to go, it's time to bring it to life with seasonings. This is where your creativity can really shine, but a few ground rules are essential—especially when it comes to salt.
Salt isn't just for taste. It’s a preservative, and it’s what helps the proteins in the meat bind together for that perfect texture. For any fresh sausage, a great starting point is 1.5% to 2% salt by weight. It's simple to calculate: just weigh your combined meat and fat, then multiply that number by 0.015 or 0.02.
From there, the world's your oyster. Black pepper is a classic, of course, but think bigger. If you need some inspiration, checking out guides on flavour profiles like these authentic Middle Eastern spices can open up a whole new world of ideas.
Beyond the basics, you’ll come across a few other key players:
- Binders: A little non-fat dry milk powder or some super-fine breadcrumbs can help your sausage retain moisture. The result is an extra-juicy link.
- Curing Salts: This is non-negotiable for any sausage you plan to smoke or air-dry, like a salami or kielbasa.
The interest in home-made sausage is bigger than ever. It's part of a wider movement of people wanting to know exactly what's in their food. In fact, Australian sausage exports hit a massive 25,000 tonnes in 2026, driven by a 15% jump in demand from Asia. And here at home, an estimated 62% of Australian households are now making their own sausages, often experimenting with unique local flavours like wattleseed.
This growing passion makes food safety more important than ever. For any cured sausage, you will need a product called Prague Powder #1 (also known as Cure #1 or pink curing salt). It contains sodium nitrite, which is absolutely vital for stopping the growth of some truly nasty bacteria, including Clostridium botulinum. Always, and I mean always, follow your recipe’s instructions for curing salts to the letter. It’s a powerful tool, but using too much can be dangerous. Used correctly, it makes curing sausage at home completely safe.
From Grind to Link: The Hands-On Art of Making Sausage
Alright, this is where the real fun begins. You've got your ingredients, and now it's time to turn that beautiful meat and fat into proper, handcrafted sausage. Let's get our hands dirty and walk through the process, from grinding and mixing to stuffing and linking.
First, let's talk about the single most important rule in sausage making: temperature is everything. I can't stress this enough. This one principle is what separates a fantastic sausage from a greasy, crumbly failure. Your goal is to keep your meat, fat, and every piece of equipment ice-cold right up until you cook.
The Chill Before the Grind
Before a single piece of meat touches your grinder, it needs a serious chill. Cut your pork shoulder and back fat into rough one-inch cubes, spread them out on a tray, and pop them into the freezer for about 30–45 minutes. You’re aiming for firm to the touch, almost crunchy, but not frozen solid.
While that's happening, give your equipment the same treatment. Your grinder head, the auger, blade, and grinding plate should all be in the freezer too. Why all the fuss? It’s to prevent the cardinal sin of sausage making: smearing. When fat warms up, it doesn't cut—it melts and smears, leaving you with a pasty, unpleasant texture. Cold fat, on the other hand, shatters into clean, distinct pieces, which is the secret to a perfect sausage texture.
The whole craft really boils down to mastering a few key components before the hands-on work even starts.
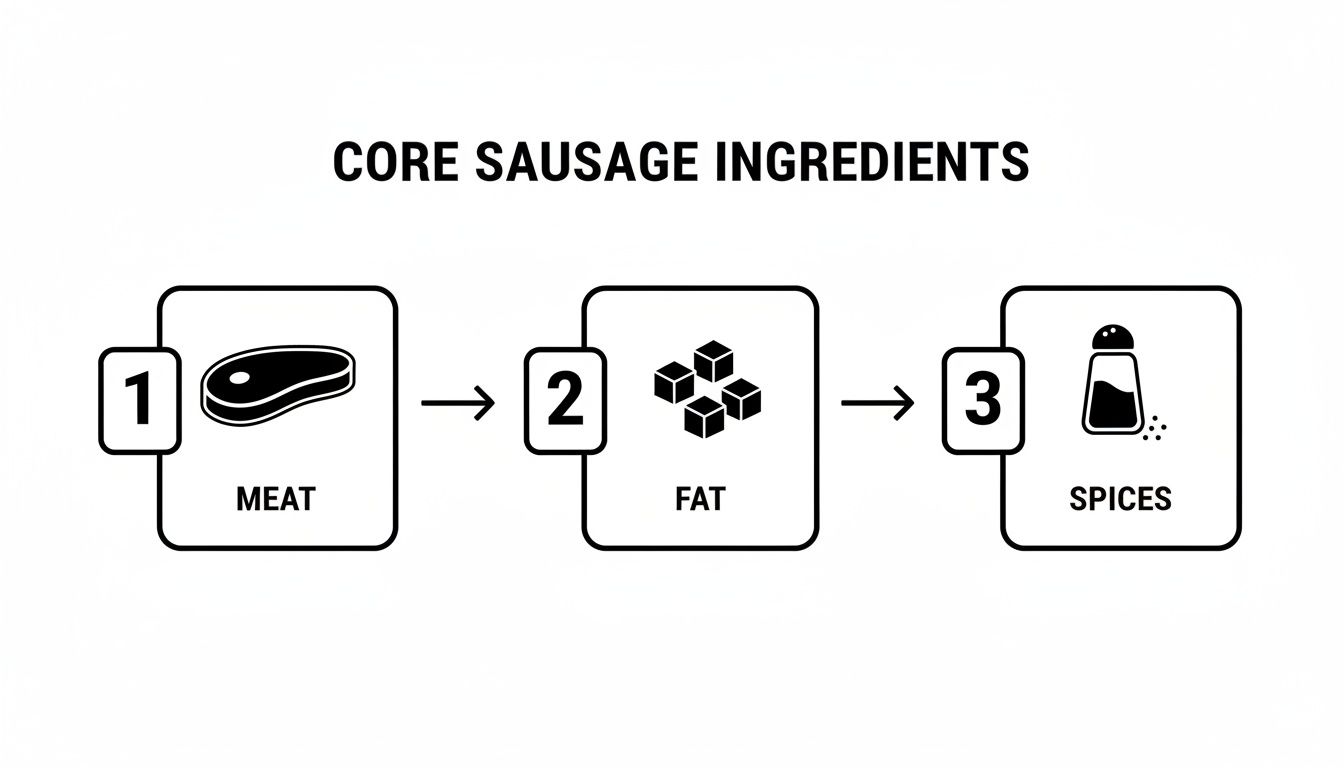
As you can see, it's a simple trifecta. Get these three things right, and you're well on your way.
Grinding for Perfect Texture
Once everything is arctic-cold, you’re ready to grind. Assemble your chilled grinder and set a similarly chilled bowl underneath to catch the magic. Start feeding the cubes of meat and fat into the grinder, making sure to alternate between the lean and fatty pieces for a nice, even distribution from the get-go.
The plate you choose is all about the kind of sausage you’re making:
- Coarse Plate (10mm): Perfect for those rustic, chunky sausages. Think a hearty country-style or a traditional Kielbasa with a substantial bite.
- Medium Plate (6mm): This is your workhorse plate. It's ideal for all-rounders like Italian sausages or Bratwurst and gives that classic, recognisable sausage texture.
- Fine Plate (4.5mm): Reach for this when you want a super-smooth, emulsified texture, like for Frankfurters. A pro tip is to do a double grind: first through the medium plate, then re-chill the mixture, and finally pass it through the fine plate.
Whatever you do, don't force the meat into the grinder; let the machine pull it in. If you see fat starting to look like paste smeared on the plate, stop. Immediately. Disassemble everything, clean it, and get it all cold again before you dare continue.
Here's a tip I live by: if your hands don't ache from the cold when you're handling the meat, it's not cold enough. It's uncomfortable, sure, but it's non-negotiable for great results.
The Art of the Primary Bind
After grinding, what you have is just seasoned mince. The mixing stage is what truly transforms it into sausage. This is where we create the "primary bind"—the magic moment when proteins in the meat link up, creating a sticky, web-like structure that traps fat and moisture.
Add your ice-cold liquid—water, wine, or stock all work well—and get mixing. You can use a stand mixer with a paddle attachment on low, but I reckon you get a better feel for it by hand. Work the mixture for about 3–5 minutes, squeezing it through your fingers and folding it back on itself.
You'll feel the change. The mixture will go from loose and crumbly to sticky and tacky. The classic test? Take a small meatball-sized portion and slap it onto the palm of your upturned hand. If it sticks there when you turn your hand over, you've nailed the bind. Just be careful not to over-mix, which can result in a tough, rubbery sausage.
Stuffing and Linking Like a Pro
This is the part everyone pictures when they think of making sausage. First, get your casings ready by following the directions on the packet. Natural casings typically need a good rinse to get the salt off, followed by a long soak in warm water to make them soft and pliable.
Thread a casing onto the nozzle of your sausage stuffer, bunching it up like a sleeve. Leave a little bit hanging off the end. Start cranking the stuffer slowly to push the meat through and expel any air from the nozzle before you tie a knot in the end of the casing.
Fill the casing evenly, but don't pack it too tight. You want a sausage that’s firm to the touch but still has a bit of give. If you overstuff it, you're just asking for it to burst when you link it or cook it. Use one hand to guide the casing off the nozzle and the other to control the stuffer.
Once you’ve got a long, beautiful coil of sausage, it's time to make links. Pinch the sausage gently where you want your first link to be—about 15 cm is a good standard. Twist that first link forward a few times. Measure out the next link, pinch, and this time, twist it backward. Keep alternating the twisting direction down the entire length of the coil.
Finally, take a sterilised pin or a sausage pricker and pop any small air pockets you see. And just like that, you've officially made sausage from scratch. Well done
Cooking, Curing, and Storing Your Homemade Sausage
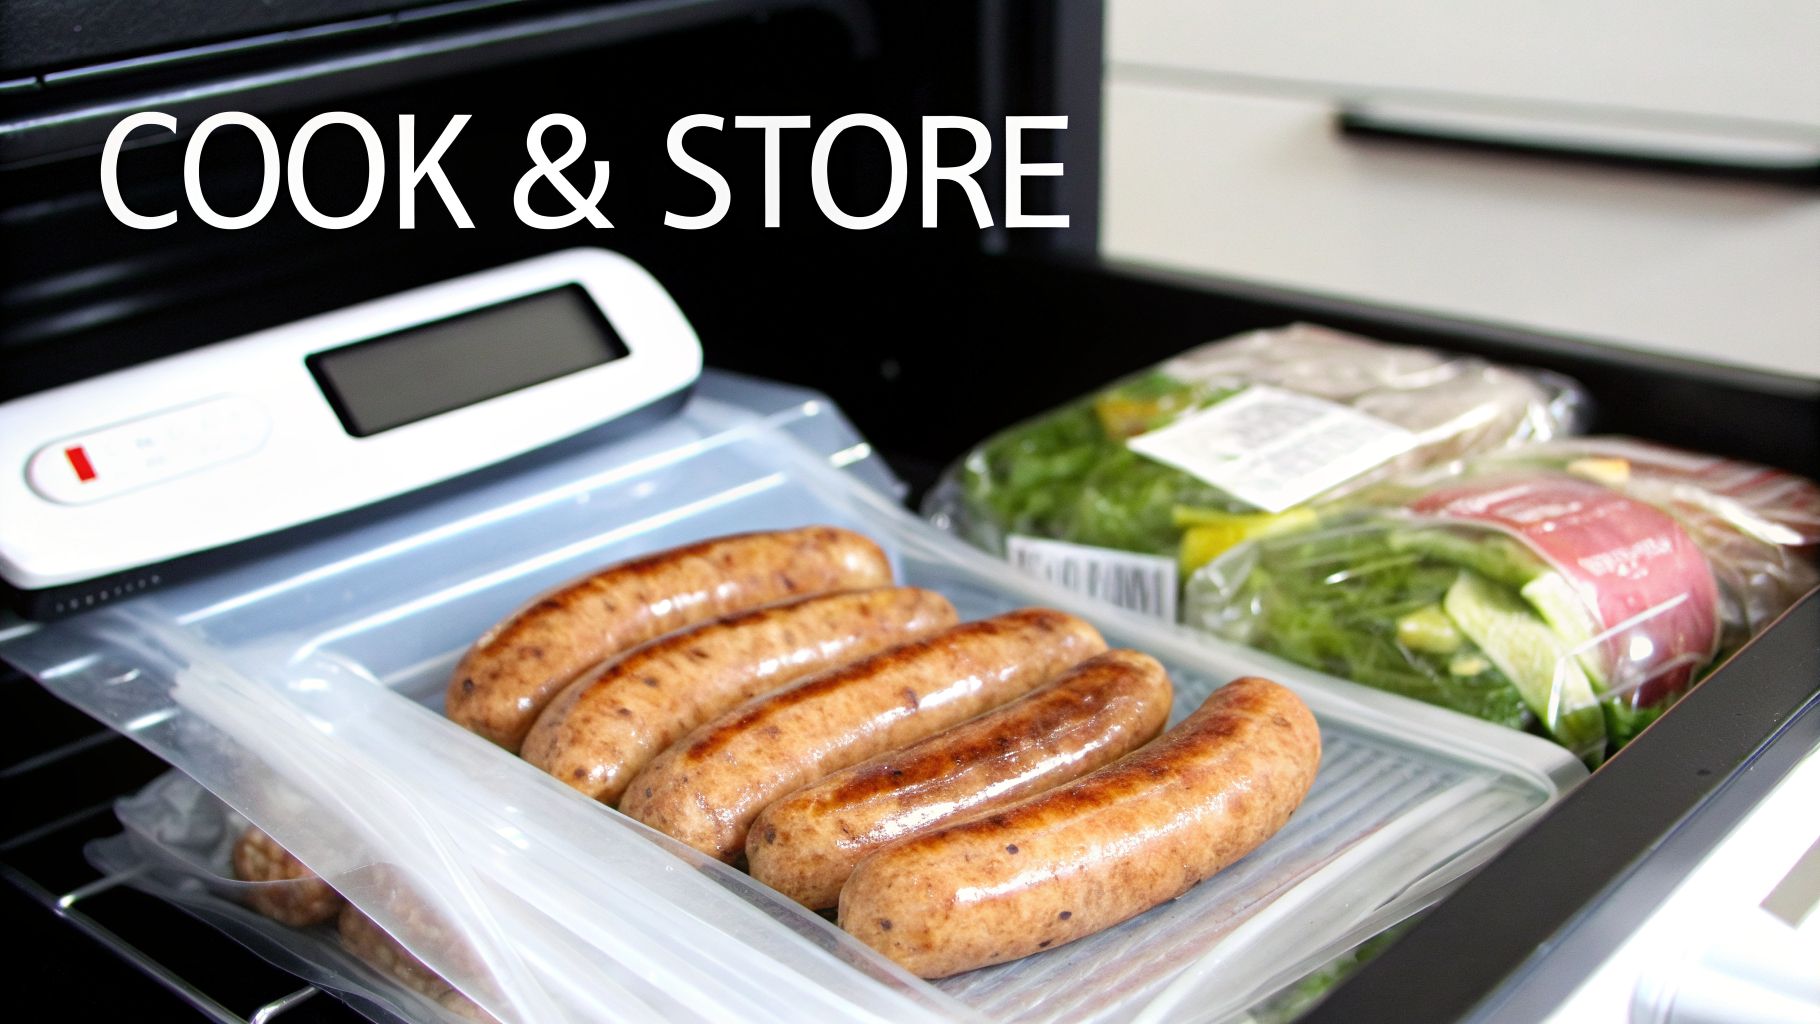
Right, you've done the hard yards—grinding, mixing, and linking your way to a batch of beautiful, handmade sausages. Now for the pay-off: cooking them to perfection and storing them properly so you can enjoy all that hard work later.
When it comes to cooking fresh sausage, the number one rule is to be gentle. Your goal is to slowly render the fat and cook the meat right through without the casings bursting. Throwing them straight onto a screaming hot grill is a sure-fire way to split them open, losing all those delicious juices.
One of the most foolproof methods I’ve found is the classic "poach and sear." Gently simmer your links in water or even beer until they're cooked, then give them a final, sizzling sear in a hot pan or on the barbie. This two-step dance guarantees a juicy, flavourful interior and that perfect, browned crust.
Cooking Methods for Flawless Fresh Sausages
To get the absolute best out of your sausages, it helps to match your cooking technique to the kind of sausage you’ve made and the texture you’re after. Each method brings something a little different to the table.
Here are a few of my go-to techniques:
- Pan-Frying: Pop your links into a cold, non-stick pan with just a splash of water. Cover it and let them steam over medium-low heat for about 10 minutes. Once they're cooked through, take the lid off, turn up the heat to medium, and brown them on all sides until they’re golden.
- Grilling: This is all about heat control. Set up your grill with two heat zones. Cook the sausages over the cooler, indirect heat until they’re almost done, then shift them over to the hot side for that final char. This stops them from getting burnt on the outside before the centre is cooked.
- Oven Roasting: For a hands-off approach, arrange your sausages on a rack set over a baking tray. Roast them at around 190°C (375°F) for 20-25 minutes, giving them a turn halfway through. This method gives you incredibly even cooking.
No matter which way you cook them, always check that your fresh sausages reach a safe internal temperature of 74°C (165°F). A good digital thermometer is a sausage maker's best friend—it's the only way to be certain they're both safe and perfectly cooked.
Exploring Curing and Smoking
Ready to graduate from fresh snags? Curing and smoking will unlock a whole new dimension of deep, complex flavours. This is definitely a more involved process, one that requires a careful handle on temperature and humidity to ensure the final product is both safe and delicious.
For smoked sausages like a good kielbasa, the process starts with hanging the links to let the casings dry out a bit before they go into the smoker. The smoke, working with the curing salts you've already added, preserves the meat while giving it that classic reddish colour and smoky flavour. The secret is to cook them low and slow, aiming for an internal temperature of about 66-71°C (150-160°F).
Air-drying, the technique behind salami and other cured meats, is a much longer game. It’s a delicate process of fermentation followed by weeks of drying in a controlled environment. The artisan sausage market in Australia is huge, and much of it is built on these traditional techniques. To make an authentic cabanossi at home, for instance, you'd need to air-dry it at 85% humidity and 10-12°C for up to 21 days. These aren't just guidelines; they're essential for a safe and authentic result. You can dive deeper into the origins and styles of sausages to really appreciate the tradition.
Safe and Smart Sausage Storage
Proper storage is the final, critical step. It’s what protects your investment of time and ingredients, ensuring your sausages stay fresh, full of flavour, and safe to eat for weeks or even months.
For any fresh sausages you plan on eating within a couple of days, just pop them in an airtight container and store them in the coldest part of your fridge. Don’t just leave them loosely wrapped—air is the enemy and will dry them out while creating a risk for bacteria. This is where your good hygiene practices, right from the start on your Everti titanium board, pay off by minimising contamination from the get-go.
For longer-term storage, the freezer is your best bet. A vacuum sealer is an absolute game-changer here. By removing all the air, you completely prevent freezer burn and lock in that fresh texture and flavour for up to a year.
If you don't own a vacuum sealer, no worries. Just wrap the links tightly in a few layers of plastic wrap, then put them inside a zip-top freezer bag. Squeeze out as much air as you possibly can before sealing. Always, always label your packages with the type of sausage and the date you made it. It’s a simple habit that ensures you’re eating your oldest stock first.
Got Questions About Making Sausage? We've Got Answers
Getting into sausage making is a fantastic experience, but let's be honest, you're going to run into a few hurdles. It happens to everyone. This is where we tackle the questions I hear all the time, offering real-world advice to get you past those common frustrations and on your way to crafting the perfect sausage.
Why Are My Sausages Dry and Crumbly?
Ah, the dreaded dry sausage. You go to all that effort, and the result is crumbly and disappointing. It’s a texture issue that almost always comes down to one thing: the fat.
This problem points to two likely culprits. Either you didn't use enough fat, or the fat you did use "smeared" during the process. Unfortunately, you can't fix this after cooking, so getting it right from the start is everything.
First, look at your ratios. For a juicy, succulent sausage, you need a fat content of at least 20-30% of the total meat weight. If you're starting with a lean cut like pork loin or chicken breast, you absolutely have to add pure pork back fat to hit that number. There's no way around it.
The second, and just as common, issue is heat. If your meat, fat, and equipment get even a little warm, the fat begins to melt. Instead of being cut into distinct little pieces by the grinder, it smears into a paste. This creates a mealy texture and stops the fat from rendering out properly when you cook, leaving you with a dry, sad sausage.
My rule of thumb is simple: if your hands don't ache from the cold when you're mixing the meat, it's not cold enough. It’s the single most important thing you can do to get that perfect texture.
Keep everything ice-cold and nail your fat ratio. Do those two things, and you'll get a juicy, well-bound sausage every single time.
How Do I Stop My Casings From Bursting?
There’s nothing more heartbreaking than seeing your beautifully linked sausages split open on the grill or in the pan. This usually happens for one of two reasons: you either overstuffed them or you cooked them too hot, too fast.
Here’s how to prevent that from happening:
- When stuffing: Resist the urge to pack the casings as tight as a drum. You want them to be firm, sure, but they need to have a little give. If they’re rock hard, there’s no room for the filling to expand during cooking. Use one hand to guide the flow of meat into the casing, aiming for a consistent fill that's pliable, not rigid.
- When cooking: High, direct heat is the enemy of natural casings. Throwing them straight onto a blazing hot grill is a surefire way to make them burst. The liquid inside turns to steam too quickly, creating pressure the delicate casing just can't handle. The trick is to cook them gently. Start them over a medium-low heat, or even poach them in water or beer first, then give them a final sear for colour.
A little patience goes a long way. A gentle cooking process lets the internal temperature rise slowly, ensuring the meat is cooked through without blowing out the casings.
Can I Make Decent Sausage Without a Grinder?
Absolutely. While a dedicated meat grinder is a game-changer for anyone serious about the craft, you don't need to rush out and buy one just to get started. Plenty of people make fantastic sausage with equipment they already have.
A food processor can work, but you have to be careful. The key is to work in very small, ice-cold batches. Use the "pulse" button to chop the meat and fat—you want to chop it, not turn it into a purée. Overdoing it will give you a pasty, unpleasant texture in a heartbeat.
Another great option is to lean on your butcher. Buy pre-ground meat, like a coarse-ground pork shoulder. The crucial step here is to also ask for a separate portion of pure ground pork fat. This way, you can still control the final fat ratio yourself. You lose some control over the grind's texture, but it’s a great shortcut that lets you focus on nailing your seasonings and mixing technique. For more tips on keeping your workspace safe when handling any meat, check out our guide on how to prevent cross-contamination in the kitchen.
What's a Good, Simple Recipe for a First-Timer?
For your first batch, you can't go wrong with a classic fresh Italian sausage. The flavour is familiar to everyone, and the process teaches you all the fundamental skills without being too complicated. It’s the perfect starting point.
Foolproof Sweet Italian Sausage
- 1 kg Pork Shoulder, cubed
- 18 g Fine Sea Salt (this is 1.8% of the meat's weight)
- 8 g Coarsely Ground Black Pepper
- 10 g Toasted Fennel Seeds
- 4 g Paprika
- 60 ml Ice-Cold Water or White Wine
Simply follow the core steps of chilling, grinding, and mixing we've covered. This straightforward recipe produces a wonderfully aromatic and flavourful sausage that’s brilliant on the barbecue or in a pasta sauce.
Here at Everti, we know that having the right tools makes all the difference. When you work on a hygienic, reliable surface like an Everti titanium cutting board, you can focus on the pure craft and creativity of making incredible food at home.