

You followed the packet directions, pressed start, and still ended up with one of two outcomes. A tough white with a dry yolk, or a burst egg that leaves you wiping the inside of the microwave before breakfast.
That is usually not the poacher’s fault. It is a timing and technique problem.
The Decor Microwave Egg Poacher has been in Australian kitchens since at least 2017, and Decor’s own microwave guidance is based on a 1100W oven, with poached eggs taking 60 to 80 seconds on high plus a short stand time, according to Decor Australia’s instructions (Decor Australia). The issue is that real kitchens are messier than instruction cards. Microwaves vary. Eggs vary. Freshness matters. Even the water temperature changes the result.
These decor egg poacher instructions are the version I wish came in the box. They keep the useful parts of the official method, but fix the bits that cause most of the frustration in Australian homes.
The Secret to Perfect Microwave Poached Eggs
The secret is not a secret ingredient. It is controlled steam, restrained timing, and one small puncture to the yolk.
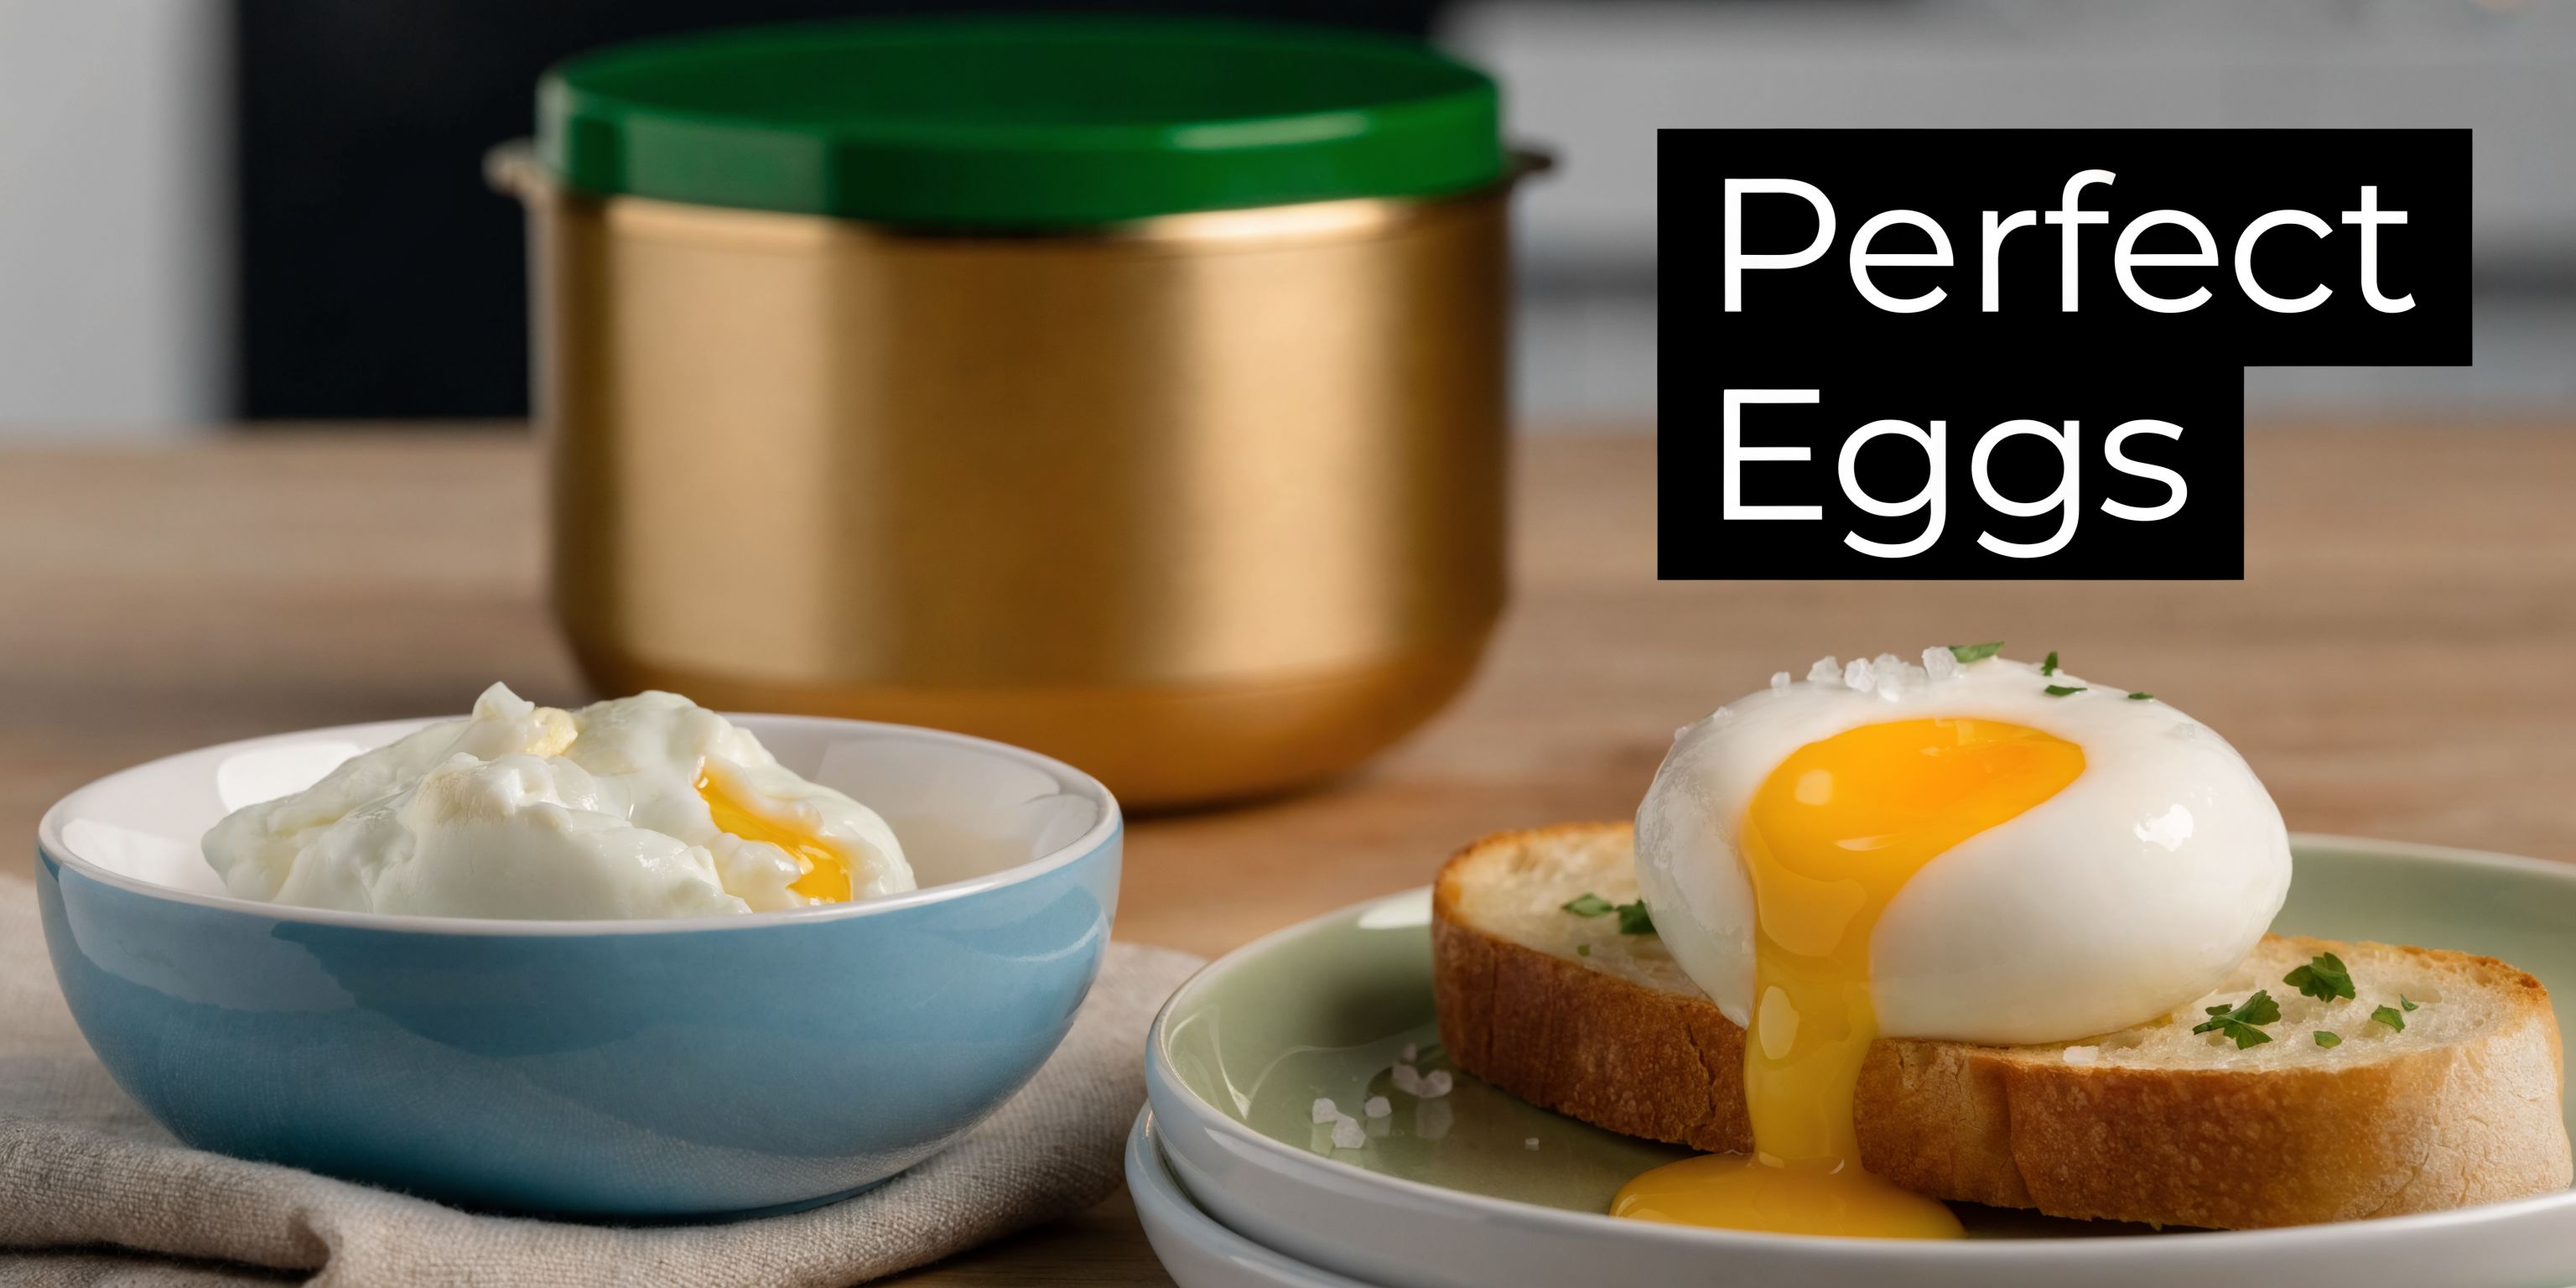
Decor’s method is simple for a reason. Add 1 tablespoon or 15ml of water to each poaching cup, crack in the egg, pierce the yolk once, cover, then microwave on high for 60 to 80 seconds in a 1100W microwave, followed by a brief stand time for a runny yolk and firmer white (Decor Australia). In homes with a similar microwave, that can work beautifully.
Why the box instructions often feel inconsistent
The trouble starts when people treat that timing like a rule instead of a starting point. If your microwave runs hotter, the egg can turn rubbery before the residual steam has done its job. If it runs cooler, the white can stay translucent while the top looks cooked.
There is also a difference between a fresh egg and one that has been sitting in the fridge longer. Fresher eggs hold a rounder shape. Older eggs spread more and look less tidy, even if they still taste fine.
Tip: The best Decor results come from stopping the microwave slightly early, then letting the egg finish in the trapped steam.
That is why this style of poaching suits busy mornings. Once you get your own microwave’s sweet spot, the process becomes quick and repeatable. If you like egg breakfasts in general, this foolproof guide to cook soft boiled eggs is also useful because it solves the same core problem: getting a set white and a soft centre without guesswork.
What works and what does not
What works:
- Hot tap water rather than cold.
- Fresh eggs with firm whites.
- Piercing the yolk once.
- Stand time after cooking.
What does not:
- Guessing your timing from someone else’s microwave.
- Using boiling water.
- Skipping the yolk pierce because you are in a rush.
- Expecting every carton of eggs to cook identically.
What You Need Before You Start
A Decor poacher can be very forgiving, but only if the setup matches your microwave and the eggs in your fridge. Good prep removes most of the guesswork before you even press start.
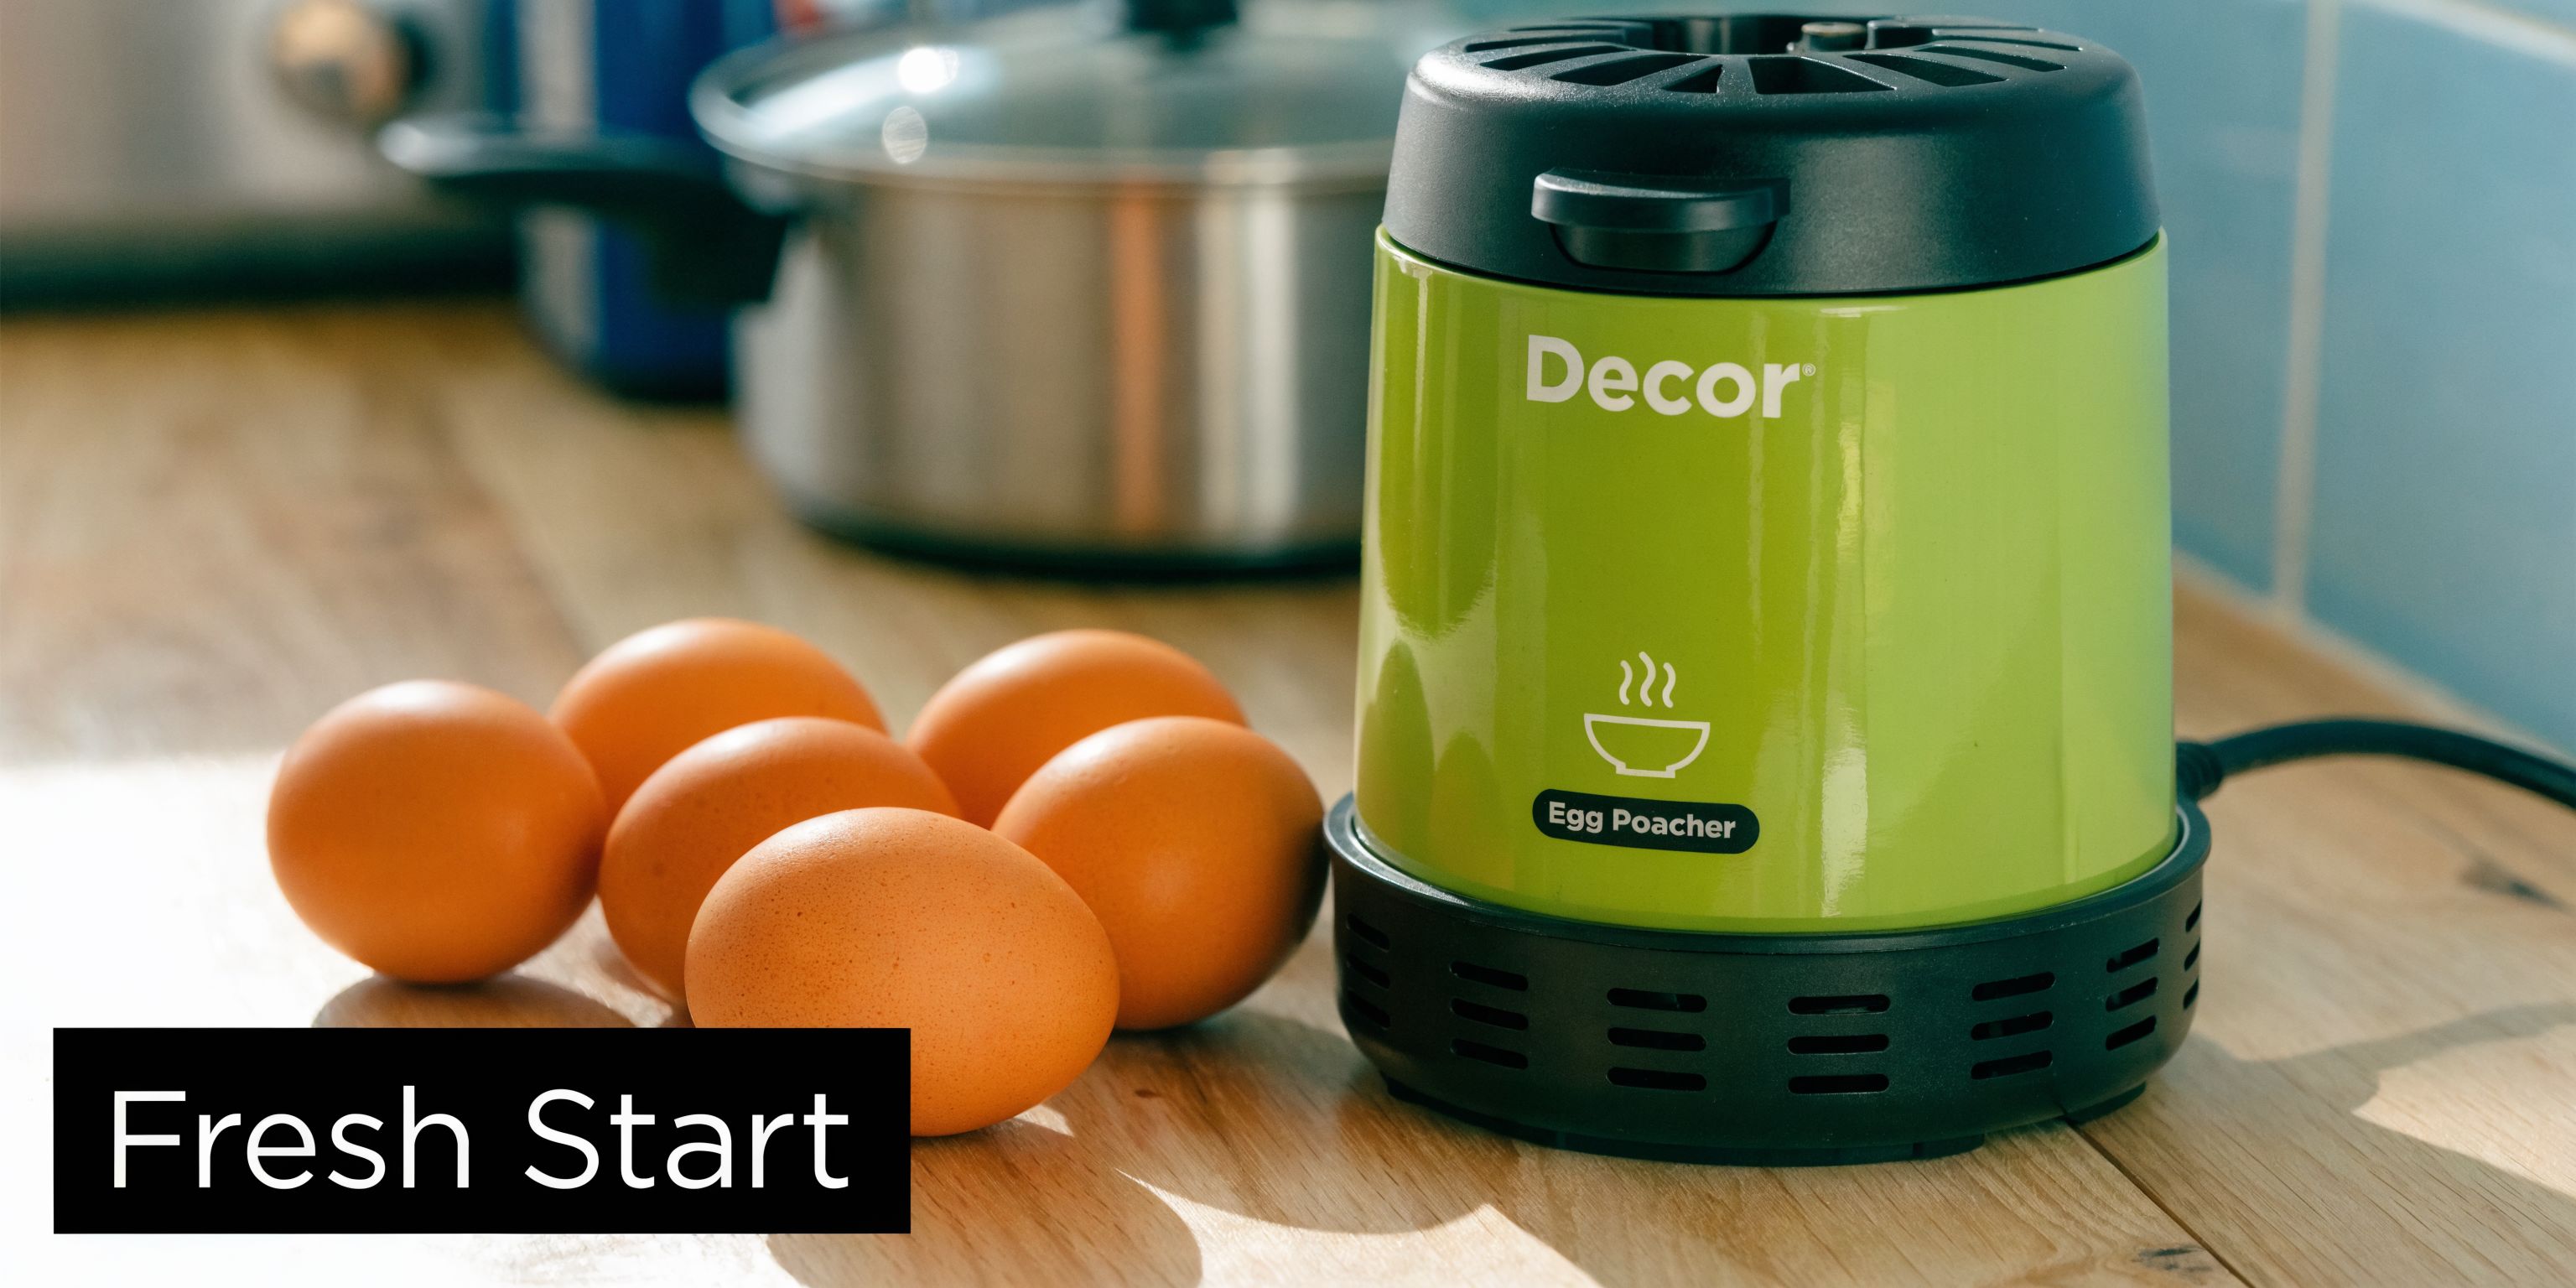
Choose eggs that will hold their shape
Fresh eggs usually give the neatest result because the white stays tighter around the yolk. Older eggs still poach, but they spread more and can look ragged around the edges.
Carton to carton, eggs also behave differently. Some have larger yolks, some have looser whites, and some crack more cleanly than others. That is one reason a timing that worked perfectly last week can need a small adjustment today.
If presentation matters, start with the freshest eggs you have. If breakfast just needs to be fast, slightly older eggs are still fine. Expect a looser shape and judge doneness by the white, not by how tidy the egg looks.
Use hot tap water
Hot tap water gives the poacher a steady start and helps the white set more evenly. Freshly boiled water tends to push things too hard at the beginning, which makes the result less predictable in many home microwaves.
Use the amount your Decor model calls for. If your poacher has a fill line, use it. If it has individual cups, add the small measured amount of water to each well rather than guessing.
This sounds minor, but it affects texture.
Keep a fork or skewer beside the microwave
You need one small tool ready before the egg goes in. A fork or skewer lets you pierce the yolk once, cleanly and gently, so steam can escape during cooking.
Do not jab or stir. A light pierce through the surface is enough.
If you are still comparing setups, this guide to the best egg poacher gives a useful overview of the different styles and how they behave.
Check your microwave before the first run
Microwave wattage matters more than the box makes it seem. An 800W unit and a 1200W unit can give very different results with the same egg and the same poacher.
Before your first proper attempt, make sure the turntable is working, place the poacher in the centre, and cook one egg as a test instead of filling every cup. That first egg tells you a lot about how your microwave handles this poacher, without wasting breakfast.
A quick visual helps
If you prefer to see the setup before trying it, this walkthrough gives a useful reference point for how the poacher is handled in real time.
Tip: If your yolk breaks while cracking, cook it anyway for a firmer breakfast egg. Do not use that attempt to judge your timing, because broken yolks cook differently.
Your Foolproof Decor Poaching Technique
A Decor poacher can give you an excellent egg, but only if you treat the box method as a starting point rather than a guarantee. In my kitchen, the eggs that come out cleanest are the ones cooked with the same setup each time, then adjusted in small increments for that microwave, that carton of eggs, and that morning.
Step by step in the poacher
- Add the water first For the cup-style Decor poacher, add 1 tablespoon or 15ml of water to each cup. That small amount creates steam and helps the white set gently instead of grabbing onto dry plastic.
- Crack in the egg carefully Crack one egg into each cup and keep the yolk intact if you can. Fresher eggs usually hold a neater shape, while older eggs spread more and can leave wispy whites around the edge.
- Pierce the yolk once Use a fork or skewer to make one light pierce through the yolk membrane. Decor includes this step in its method, and it is there for a practical reason. It gives built-up steam a way out. One pierce is enough. More than that tends to flatten the yolk and makes the finished egg look ragged.
- Fit the lid properly Set the lid on evenly so the steam stays where it should. If it sits crooked, one side of the egg often overcooks while the other side lags behind.
- Place it in the centre of the microwave The centre position is usually the most reliable for even cooking. Once you find a placement that works in your microwave, keep using it rather than shifting the poacher around from one attempt to the next.
The small details do most of the work here. Keep the water amount consistent. Do not add extra water to compensate for a stronger microwave. That usually leaves the white wet rather than tender. If your yolk has been turning firm before the white is fully set, the better fix is to trim the cook slightly and let residual heat finish the egg. This guide on how long to poach eggs in different setups helps if you are comparing timing habits.
If your Decor model uses a base reservoir and pods rather than individual cups, follow the same principle. Use the marked fill level, keep the pod arrangement consistent, and resist changing several variables at once. Australian microwaves vary a lot in power, so random adjustments make it harder to tell whether the core issue is time, water, or the egg itself.
Tip: If you get a fully set white and a yolk that is just a touch firmer than you want, you are close. Shorten the cook a little on the next egg and keep the same rest.
The Perfect Poaching Time for Your Microwave
Most failures come down to one thing. The microwave, not the egg poacher.
In Australia, microwaves are widely used, with power outputs commonly ranging from lower to higher wattages. Official instructions often do not adjust clearly for wattage, and that gap can contribute to user frustration when relying on trial and error (YouTube reference).
Start with your microwave’s wattage
Check inside the microwave door or on the back label. If you know the wattage, your first attempt becomes much more sensible.
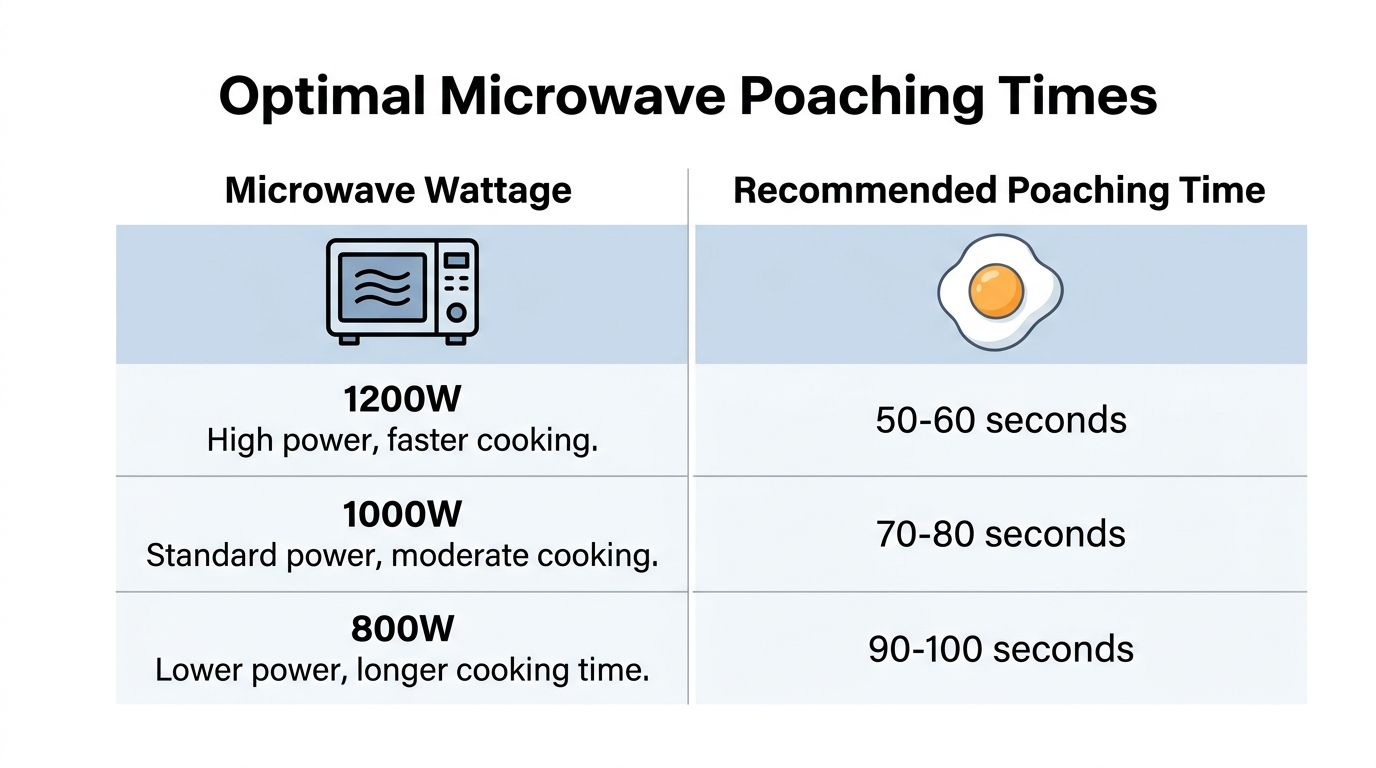
The timing below is a practical starting chart for a Decor poacher. Treat it as a baseline, then adjust by a small amount on your next egg if needed.
Microwave Poaching Time Chart
| Microwave Wattage | Runny Yolk (Seconds) | Soft Yolk (Seconds) | Firm Yolk (Seconds) |
|---|---|---|---|
| 1200W | 50 | 60 | 70 |
| 1000W | 70 | 80 | 90 |
| 800W | 90 | 100 | 110 |
These timings align with the broad pattern Decor users run into in real kitchens. More wattage means less microwave time. Less wattage means a longer cook, but not an endless one.
Stand time is part of the cook
Do not judge the egg the second the timer stops. Let it stand briefly so trapped heat can finish the white more gently.
Microwave cooking is abrupt; the stand smooths out the result. It is often the difference between a bouncy white and a tender one.
If you want another reference point for timing logic across different poacher setups, this article on egg poacher how long is useful.
Key takeaway: If you are deciding between slightly under and slightly over, choose under. You can always add a short burst. You cannot undo a hard yolk.
From Poacher to Plate and Beyond
You have 30 seconds where a great poached egg can still turn average. That usually happens at the sink or on the bench, not in the microwave.
Remove the lid safely
Lift the poacher out with dry hands or a tea towel. The base and lid hold heat, and the steam under the lid can catch you off guard if you open it too quickly.
Tilt the lid away from your face. Then let the egg sit in the poacher for a few seconds before you try to lift it out. That brief pause helps the white settle and makes release cleaner.
If the egg sticks a little, slide a spoon or silicone spatula around the edge and lift from underneath. Keep the motion gentle so the yolk stays centred and the white does not tear.
Serve while the texture is right
A microwave-poached egg keeps cooking from its own heat, so get it onto the plate promptly. If breakfast is not fully ready, I plate the egg last.
Good serving options include:
- Toast and avocado for an easy weekday breakfast
- Wilted spinach for a lighter plate
- A grain bowl when you want something more substantial
- Sautéed mushrooms for a richer, café-style finish
If you enjoy refining your cooking habits beyond eggs, it is worth exploring more cooking tips that focus on practical kitchen workflow and meal prep ideas.
Clean the poacher before residue sets
Cleanup is one reason many home cooks keep using the Decor poacher. A freshly used poacher usually washes clean with warm water, a little dish soap, and a soft sponge.
Dishwasher cleaning is fine, but hand washing often keeps the surface looking better over time. If any cooked egg clings around the edges, soak it for a minute instead of scrubbing hard.
Clean handling matters before and after cooking, especially if you crack eggs straight into the poacher and prepare other foods nearby. This guide on how to prevent cross-contamination is a useful refresher for everyday kitchen use.
Solving Common Egg Poacher Issues
It is common to assume a bad result means the poacher does not work well. Usually, the poacher is fine. One small variable is off.
Quick fixes that help
- Egg exploded The yolk was not pierced, or the pierce did not break the membrane properly.
- White turned rubbery The cook went too long. Cut the next attempt back slightly.
- White still looks wet The timing was short, or the egg needed a little more rest after cooking.
- Egg spread and looked messy The egg was likely less fresh, so the white did not hold tightly around the yolk.
- One batch worked, the next did not Your eggs may have been a different size or freshness, even from the same shop.
The fix is not to overhaul everything. Keep the same poacher, same water method, same yolk pierce. Adjust only one thing at a time until your microwave has its own dependable setting.
Everti makes refined titanium kitchen and table essentials for cooks who care about clean materials, durability, and easy everyday use. If you want to elevate the rest of your breakfast routine with thoughtfully made tools, explore Everti.